Do you want to install Windows 11 on your M1-based Mac or Macbook? If yes, you are in the right place. There are some ways by which you can install Windows 11 on your Mac computer. A lot of them are paid and might not be suitable for everyone. To solve this problem, we will use a free tool to install Windows 11 on M1 Macs.
Since the M1 chip on the Mac is an ARM-based chip, we can install the ARM version of Windows 11 on our MacBook. We will use a software called UTM for this purpose. UTM can be freely downloaded. It is even available on the official macOS App Store as well. It is fairly simple as downloading the Windows file and then installing the same on Mac via UTM.
Not just Windows 11, you can install a ton of other operating systems on your M1 Mac using UTM. In this article, we will focus on installing Windows 11 on Mac for free.
Prerequisites for installing Windows 11 on M1 Mac
Before jumping into the guide, make sure that you have all the below-mentioned things ready. These are the basic requirements for installing Windows 11 on M1 Mac.
- Any M1 Mac
- Stable internet connection to download Windows 11 VHDX file (~9.5GB)
- 20GB storage space
If you have all the things mentioned above ready, then you are good to go. If you do not have a high-speed or stable internet connection, download the VHDX file of Windows 11 from elsewhere and copy the same to your Mac. It should work fine.
Steps to install Windows 11 on M1 Macs
The steps are pretty much the same for all Macs with M1 chips. It doesn’t matter if it is a Mac, Macbook, or Mac Mini. It will work without any hiccups.
Now that we have a basic overview of everything. Let’s jump straight into the Windows 11 installation procedure for M1 Mac.
Download Files for Windows 11 Installation on M1 Mac
First of all, you need to download all required files:
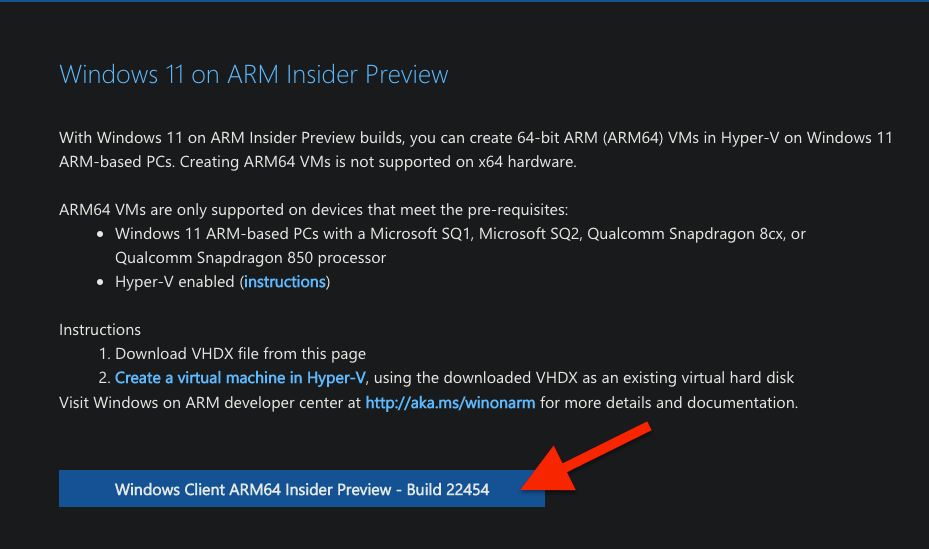
To download the Windows Insider Preview build, you first have to register for the same. Click on the link given above and log in using your Microsoft account. Once logged in, enroll for Windows Insider Preview. Now come back to the same page, and you will find a Windows Client ARM64 Insider Preview – Build XXXXX button. Just click on the link to download the file.
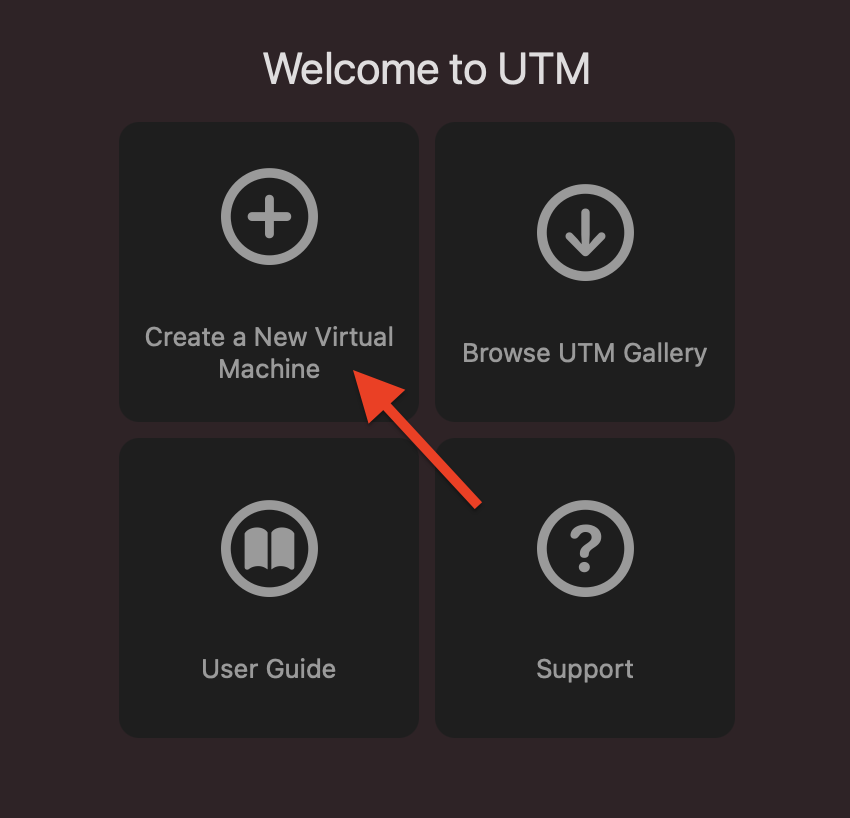
Step 1: Install UTM and open it up. Click on the “Create a New Virtual Machine” button.
Step 2: From the window that appeared, under the Information tab, fill in the name for your installation and click on the Style dropdown menu and select Operating System.
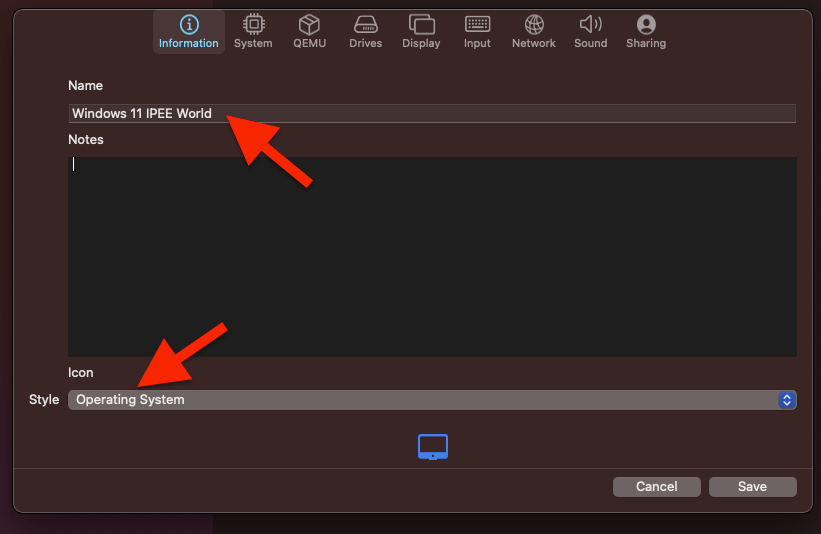
Step 3: Move to the System tab, click on the Architecture dropdown menu, and select ARM64 (aarch64). Leave the System section as it is and choose a memory of at least 4GB.

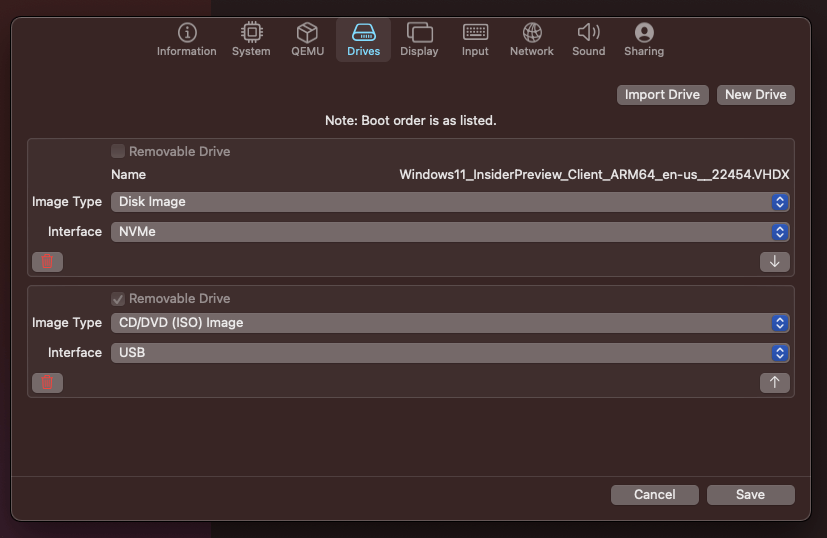
Step 4: Click on the Import Drive button to add the Windows file under the Drives tab. Upon clicking the Import Drive button, Finder will open up, and you need to select the VHDX file of Windows 11. Click on the Interface dropdown menu and choose NVMe.
Now click on the New Drive button and tick on Removable. Select the Interface as USB and click on Create.
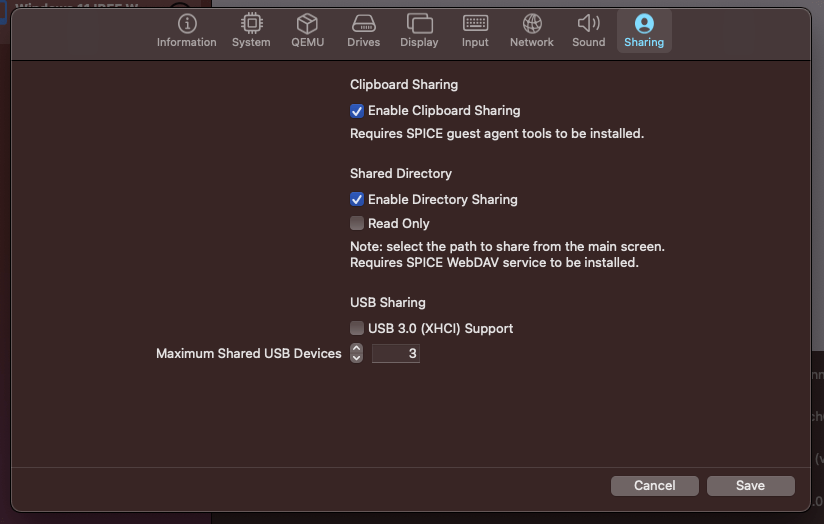
Step 5: Now move to the last tab, Sharing tab. From here, enable the option Enable Directory Sharing under the Shared Directory section.
Now click on the Save button to save all the newly added configurations.
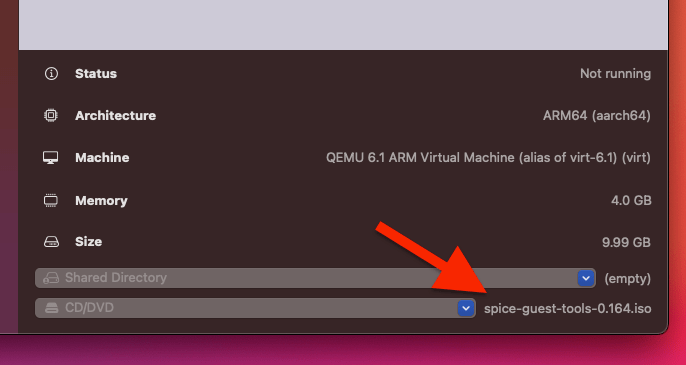
Step 6: From the right sidebar, click on the new installation we added just now. Scroll down to the details section and click on the CD/DVD drop down menu. It will ask you to locate the SPICE Guest Tool that we downloaded earlier. Just select the same.
Now click on the Play button, and it should open up Windows 11 installation screen.
A UTM logo will pop up with a Start boot option message.
Wait for a few seconds, and the Windows 11 installation page will load up.
If the mouse pointer is not visible, click on the Capture mouse cursor icon from the top bar.
Follow the on-screen instructions to install Windows 11. Hereafter the setup process is the same as installing Windows 11 on a PC.

Here is a brief Windows 11 installation steps: Select the country/region > select the keyboard layout > click on I don’t have internet option and continue with limited setup > Accept the agreement > Enter the name > enter a password > confirm the password > add three secuirty questions > enable/disable optional settings.
Now, wait for a few minutes, and once done, it will take you to the Windows 11 desktop.
Now you need to install the SPICE Guest Tools to install necessary drivers and access the internet. For this, follow the steps below:
- Open File Explorer on Windows 11
- Select CD Drive under This PC and click on the spice-guest-tools installed application
- A security pop-up will appear. Just click on Yes.
- A software installer will open up. Just click on the Next button a few times, accept the agreement and finally install the SPICE Guest Tools on your Windows 11 installation.
- Finally, restart the Windows 11 virtual machine (Click on the Start menu and click on Restart under power options)
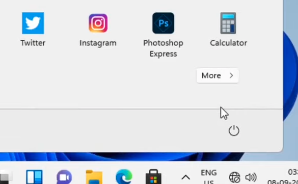
Once opened up, you can start using Windows 11, and you have successfully installed Windows 11 on your M1-based Mac.
FAQ on Installing Windows 11 on Mac
Here are some frequently asked questions and answers regarding Windows 11 installation on Mac.
x86 emulation is very slow and it is recommended that you use the ARM version of Windows 11 for the installation. Even the x86 version will work without any issue but ARM one will be way faster
Yes, UTM is completely free and can be downloaded from their website.
Yes, you can install other versions of Windows like Windows 10. What’s more interesting is that you can install other operating systems like Ubuntu, Debian and other Linux Distros.
Running Windows 11 on an M1 Mac For FREE
These are all the steps that you need to follow to install Windows 11 on your M1 chip based Mac computer. UTM is a free software that you can use to get the job done. There are other UTM alternatives like Virtualbox or Parallels But software like Parallels is expensive and not everyone could afford it.
If you have any doubt regarding the Windows 11 installtion on M1 Mac or if you face any error, please drop a comment below and we can sort it out.


