
Music is something very important to me, I believe a day without music is a day not spent well. I don’t know anyone who hates music whatever the genre they like music is music.
When it comes to music Spotify is my favorite app to listen to online music, even while writing this article I’m using Spotify.
I never like getting interrupted while I’m listening to music but sometimes very irritating thing happens to my Spotify, It stops the song I’m listening and a notification pops up and says You can’t play this right now.
Extremely irritating right? We don’t know how this happens but there are a few ways to solve this problem. Today we are going to solve your problem.

Before we move ahead with some tutorials try using the following trick shown below.
- Restart your device
- Log out your Spotify account and log in again
- Update your Spotify app
1. Turn off high-quality streaming
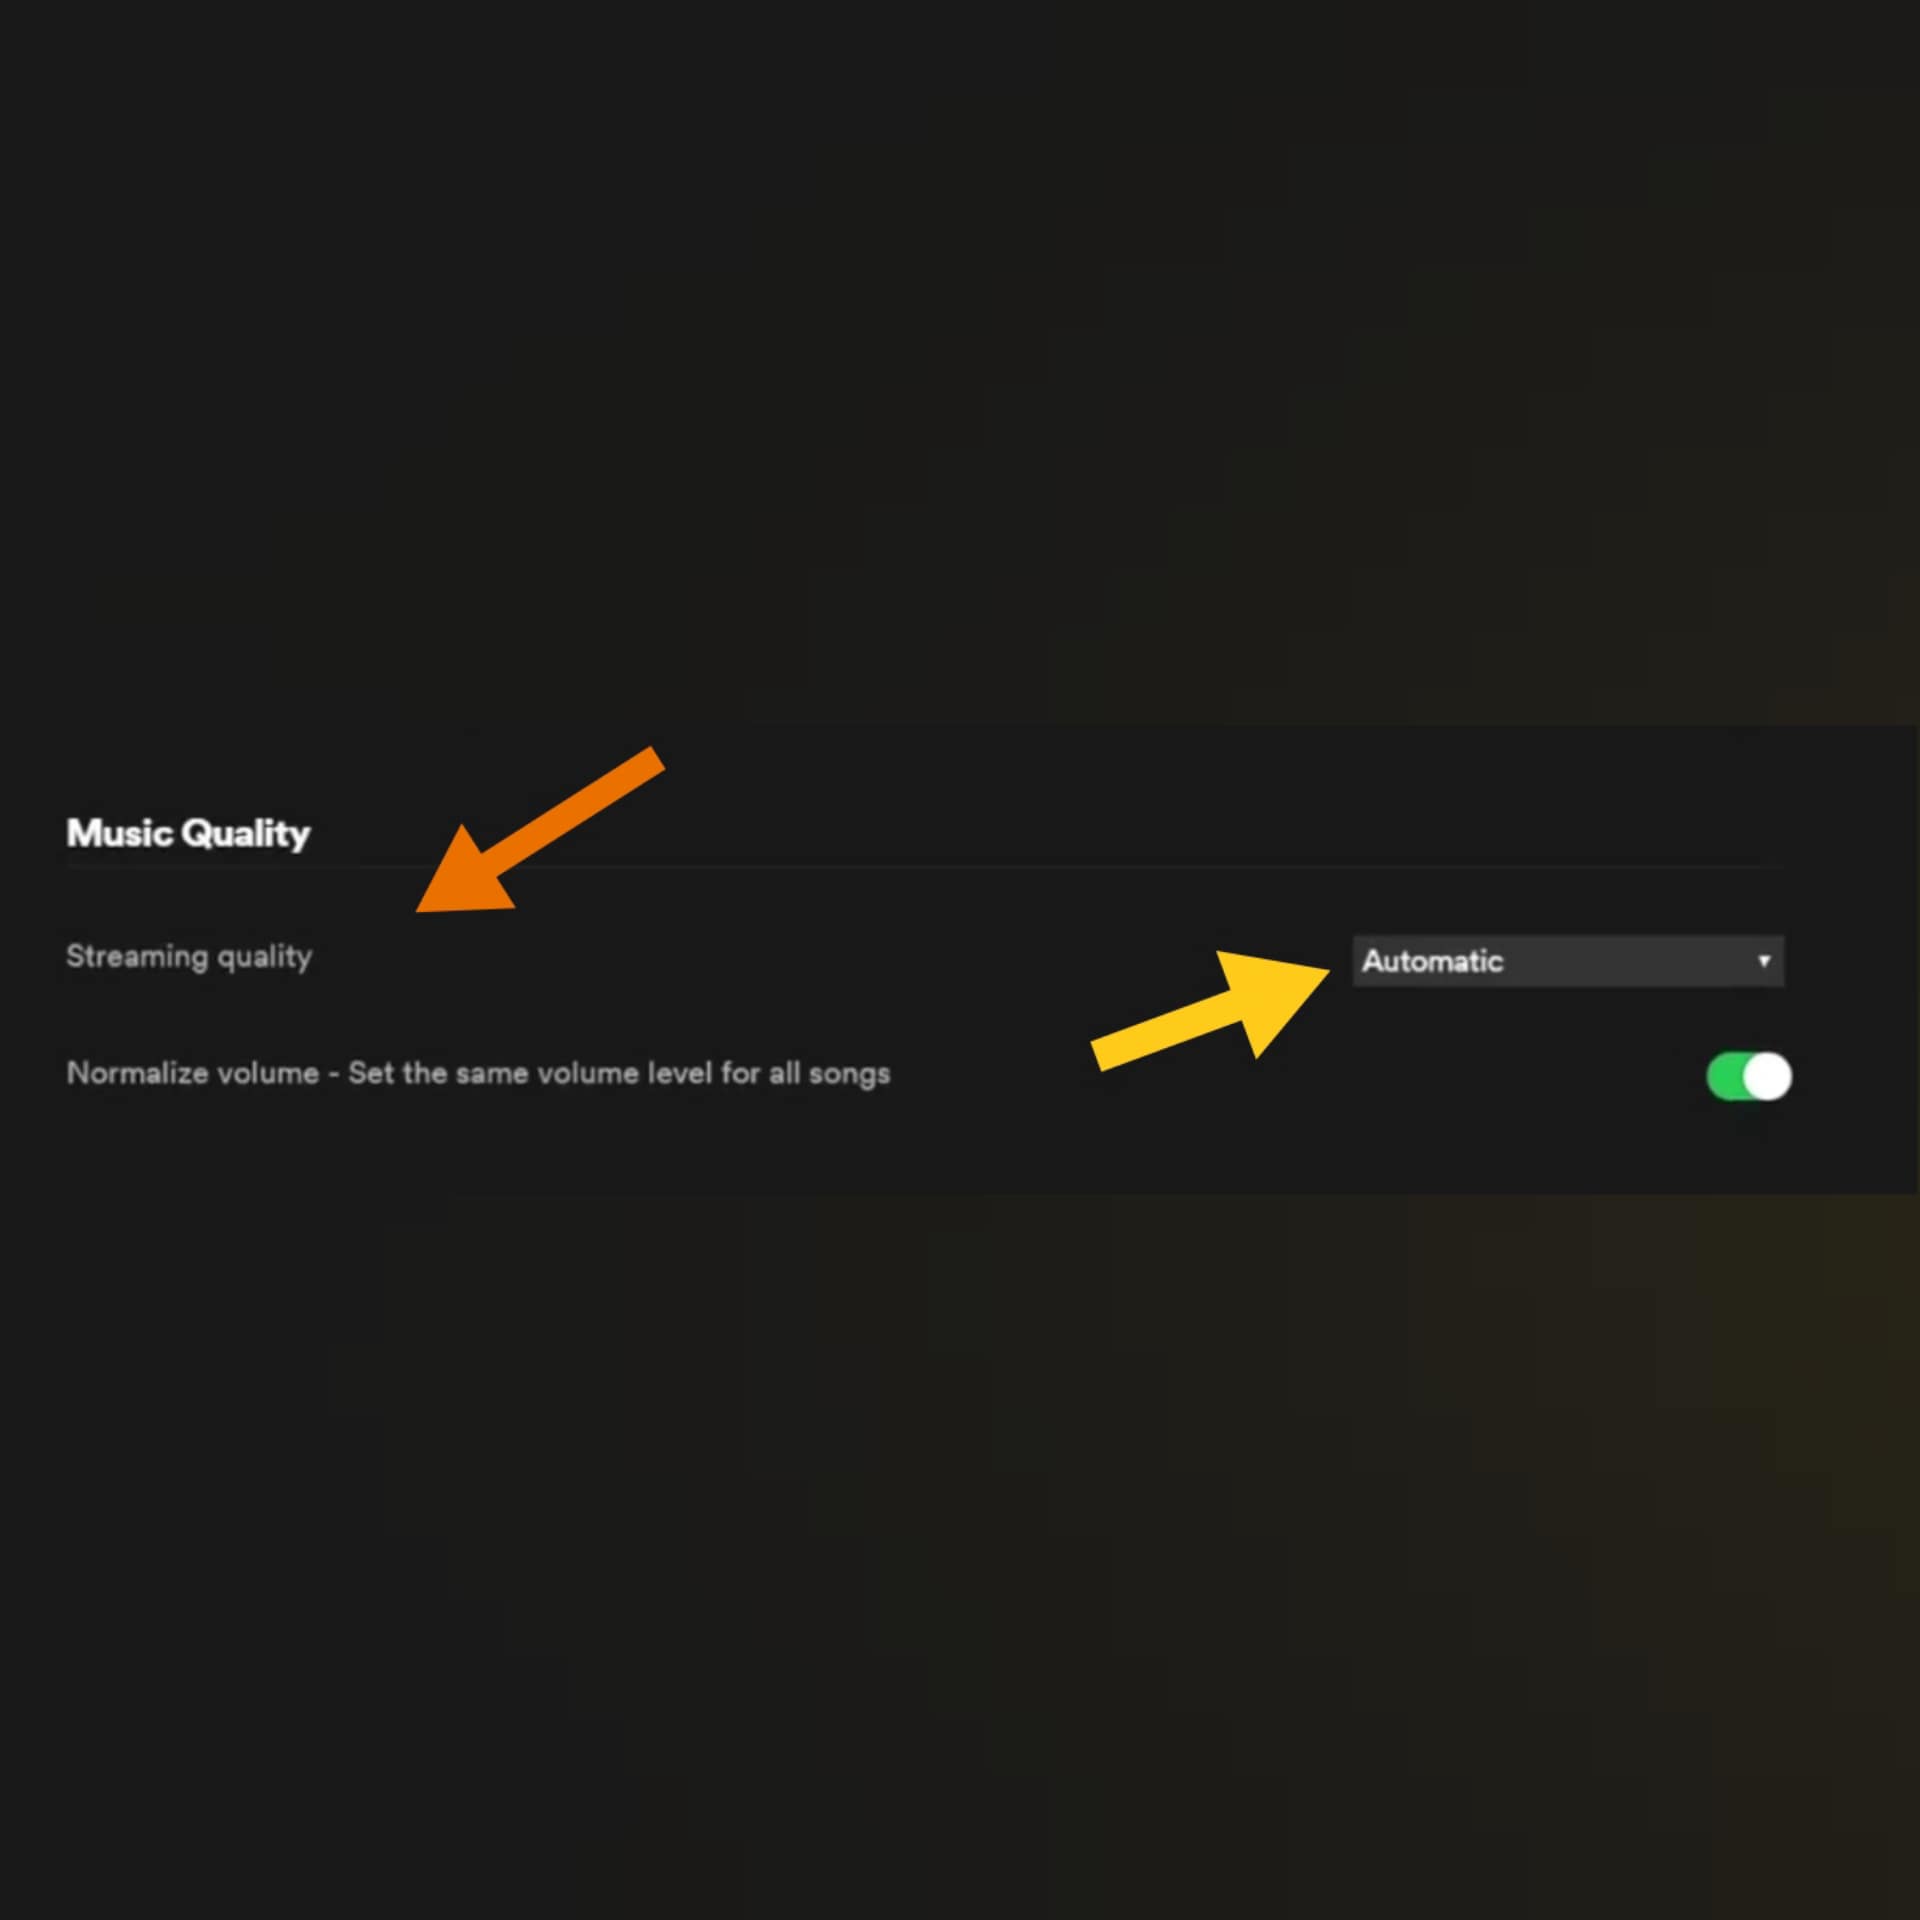
If you have a premium account you will get the option to change streaming quality, sometimes when you are playing your songs on a high-quality setting you might face the “can’t play this right now ” this can occur because of the internet speed or if your premium subscription has ended the same problem can occur.
Change the high-quality streaming to automatic for a better experience. Follow the steps shown below to change your streaming settings.
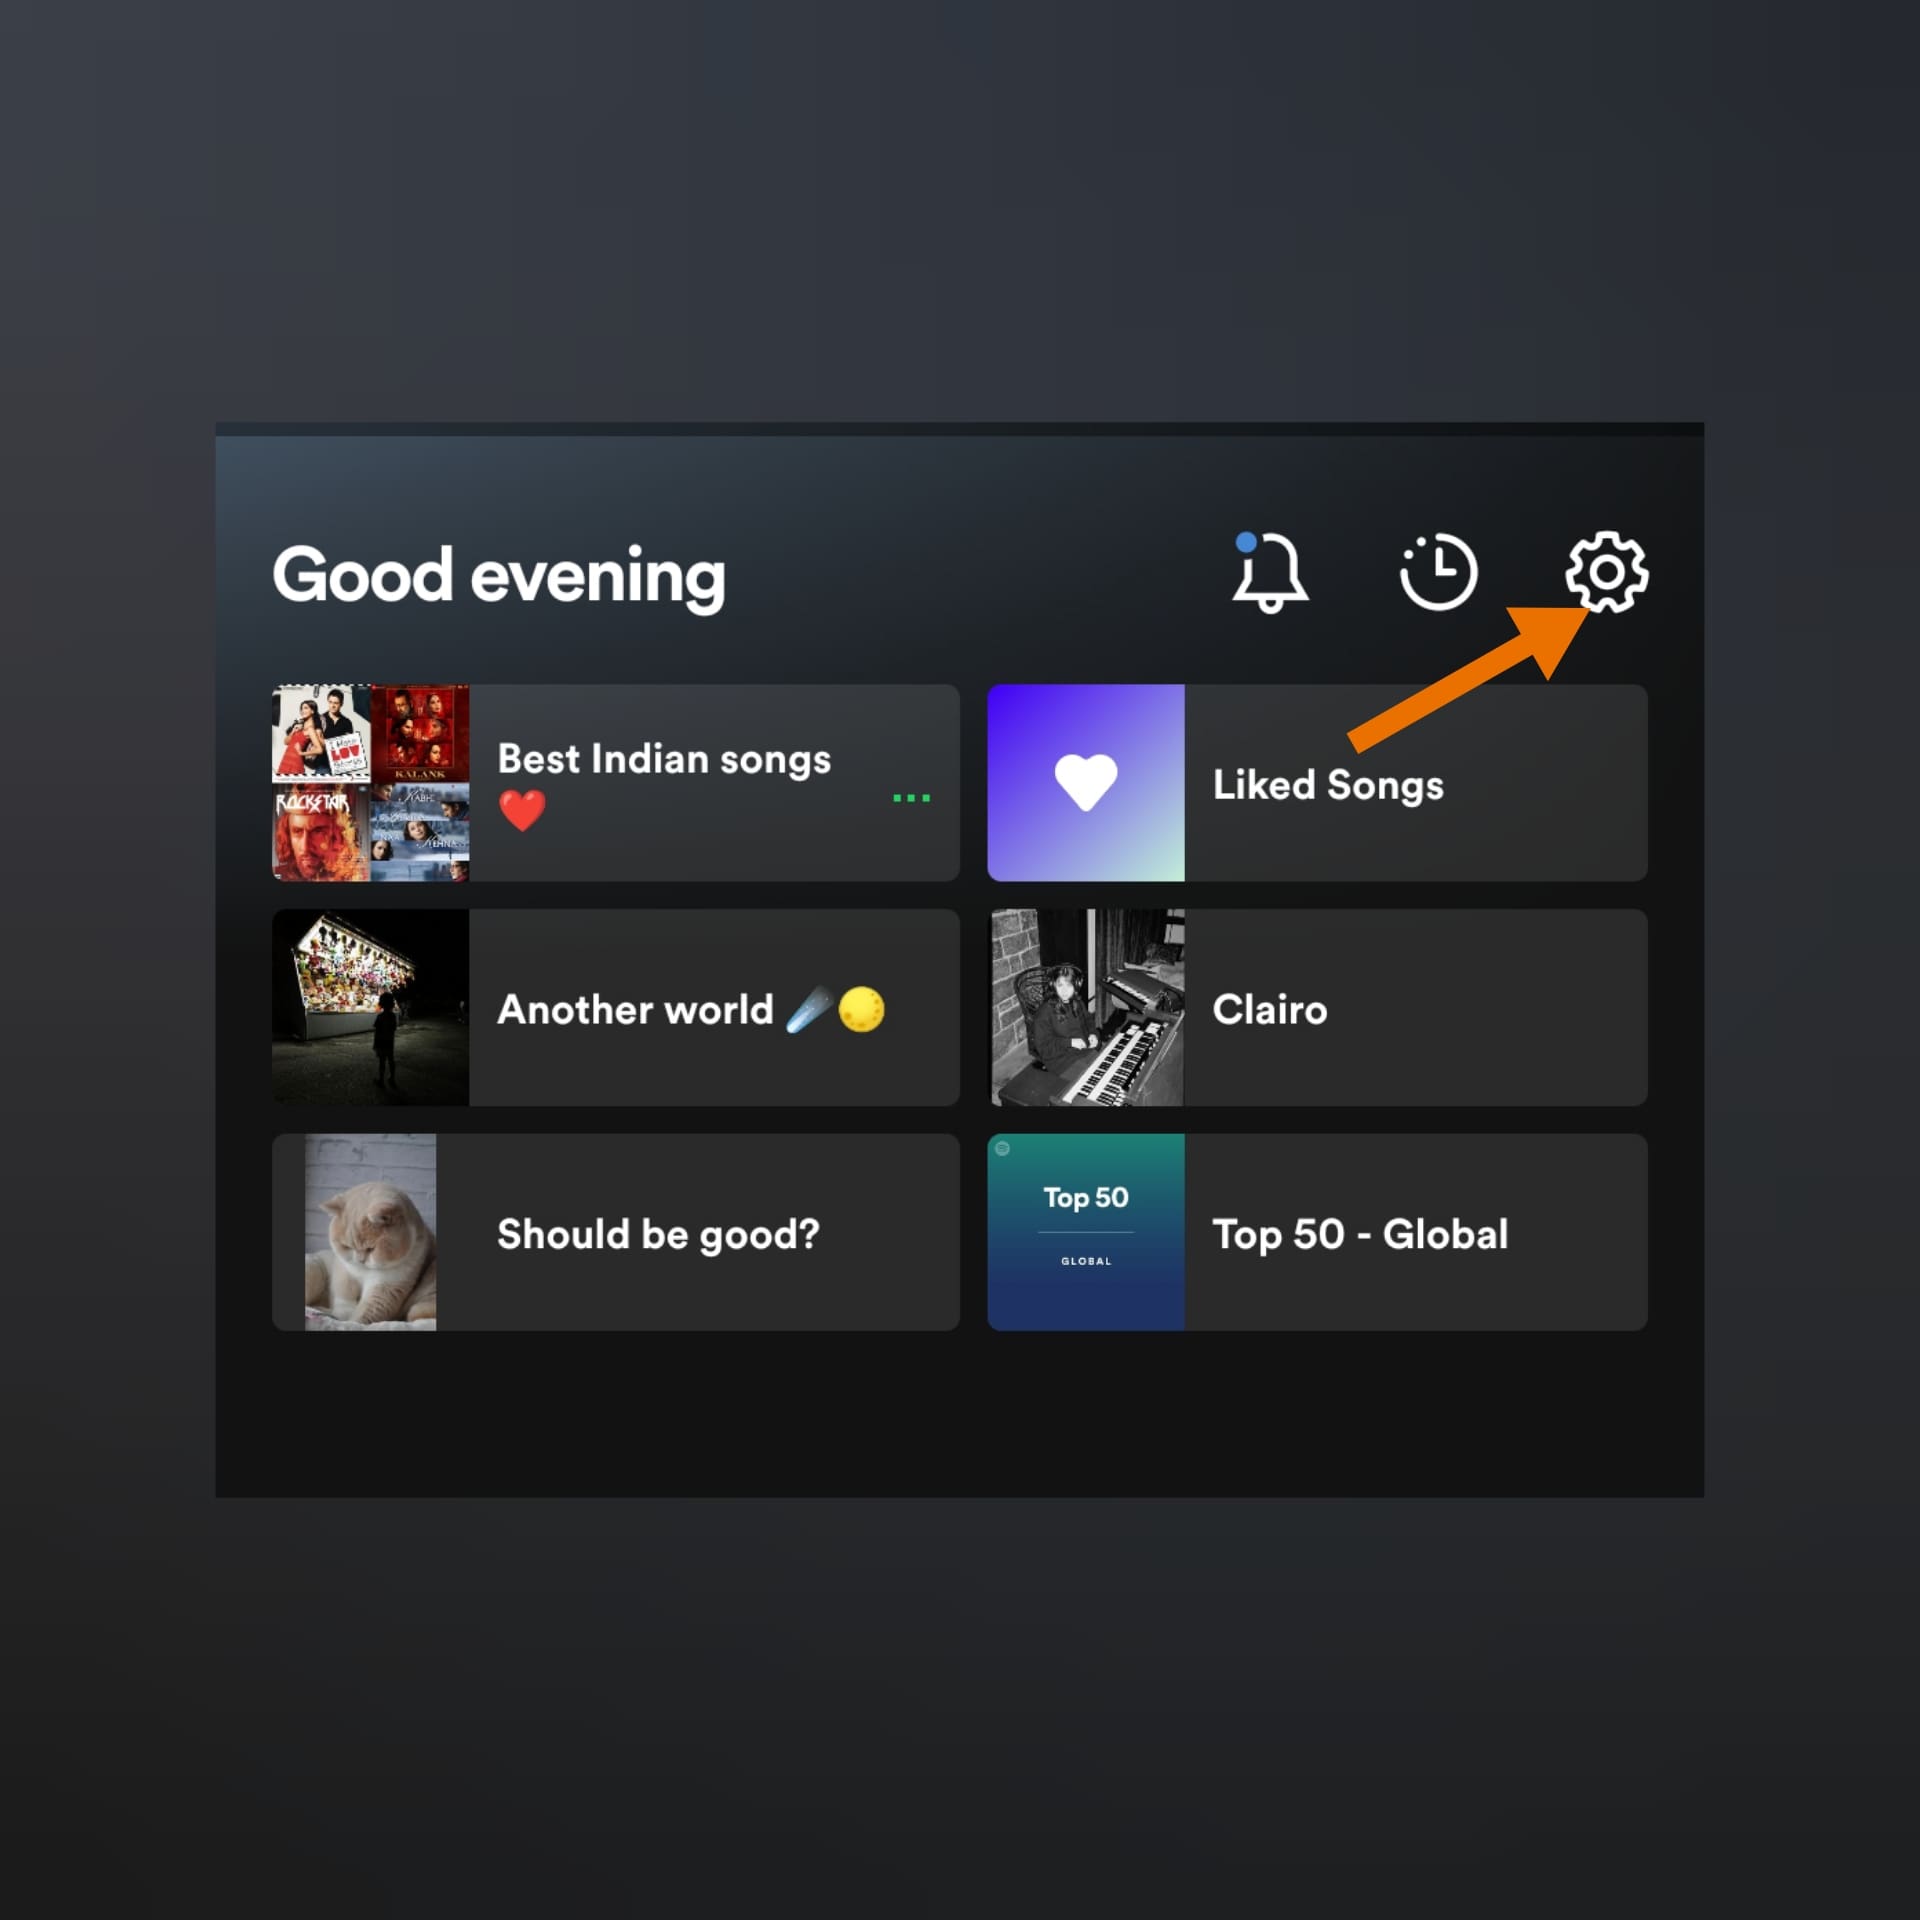
Step 1
Click on the Settings icon on the top right corner of your Spotify app
Step 2
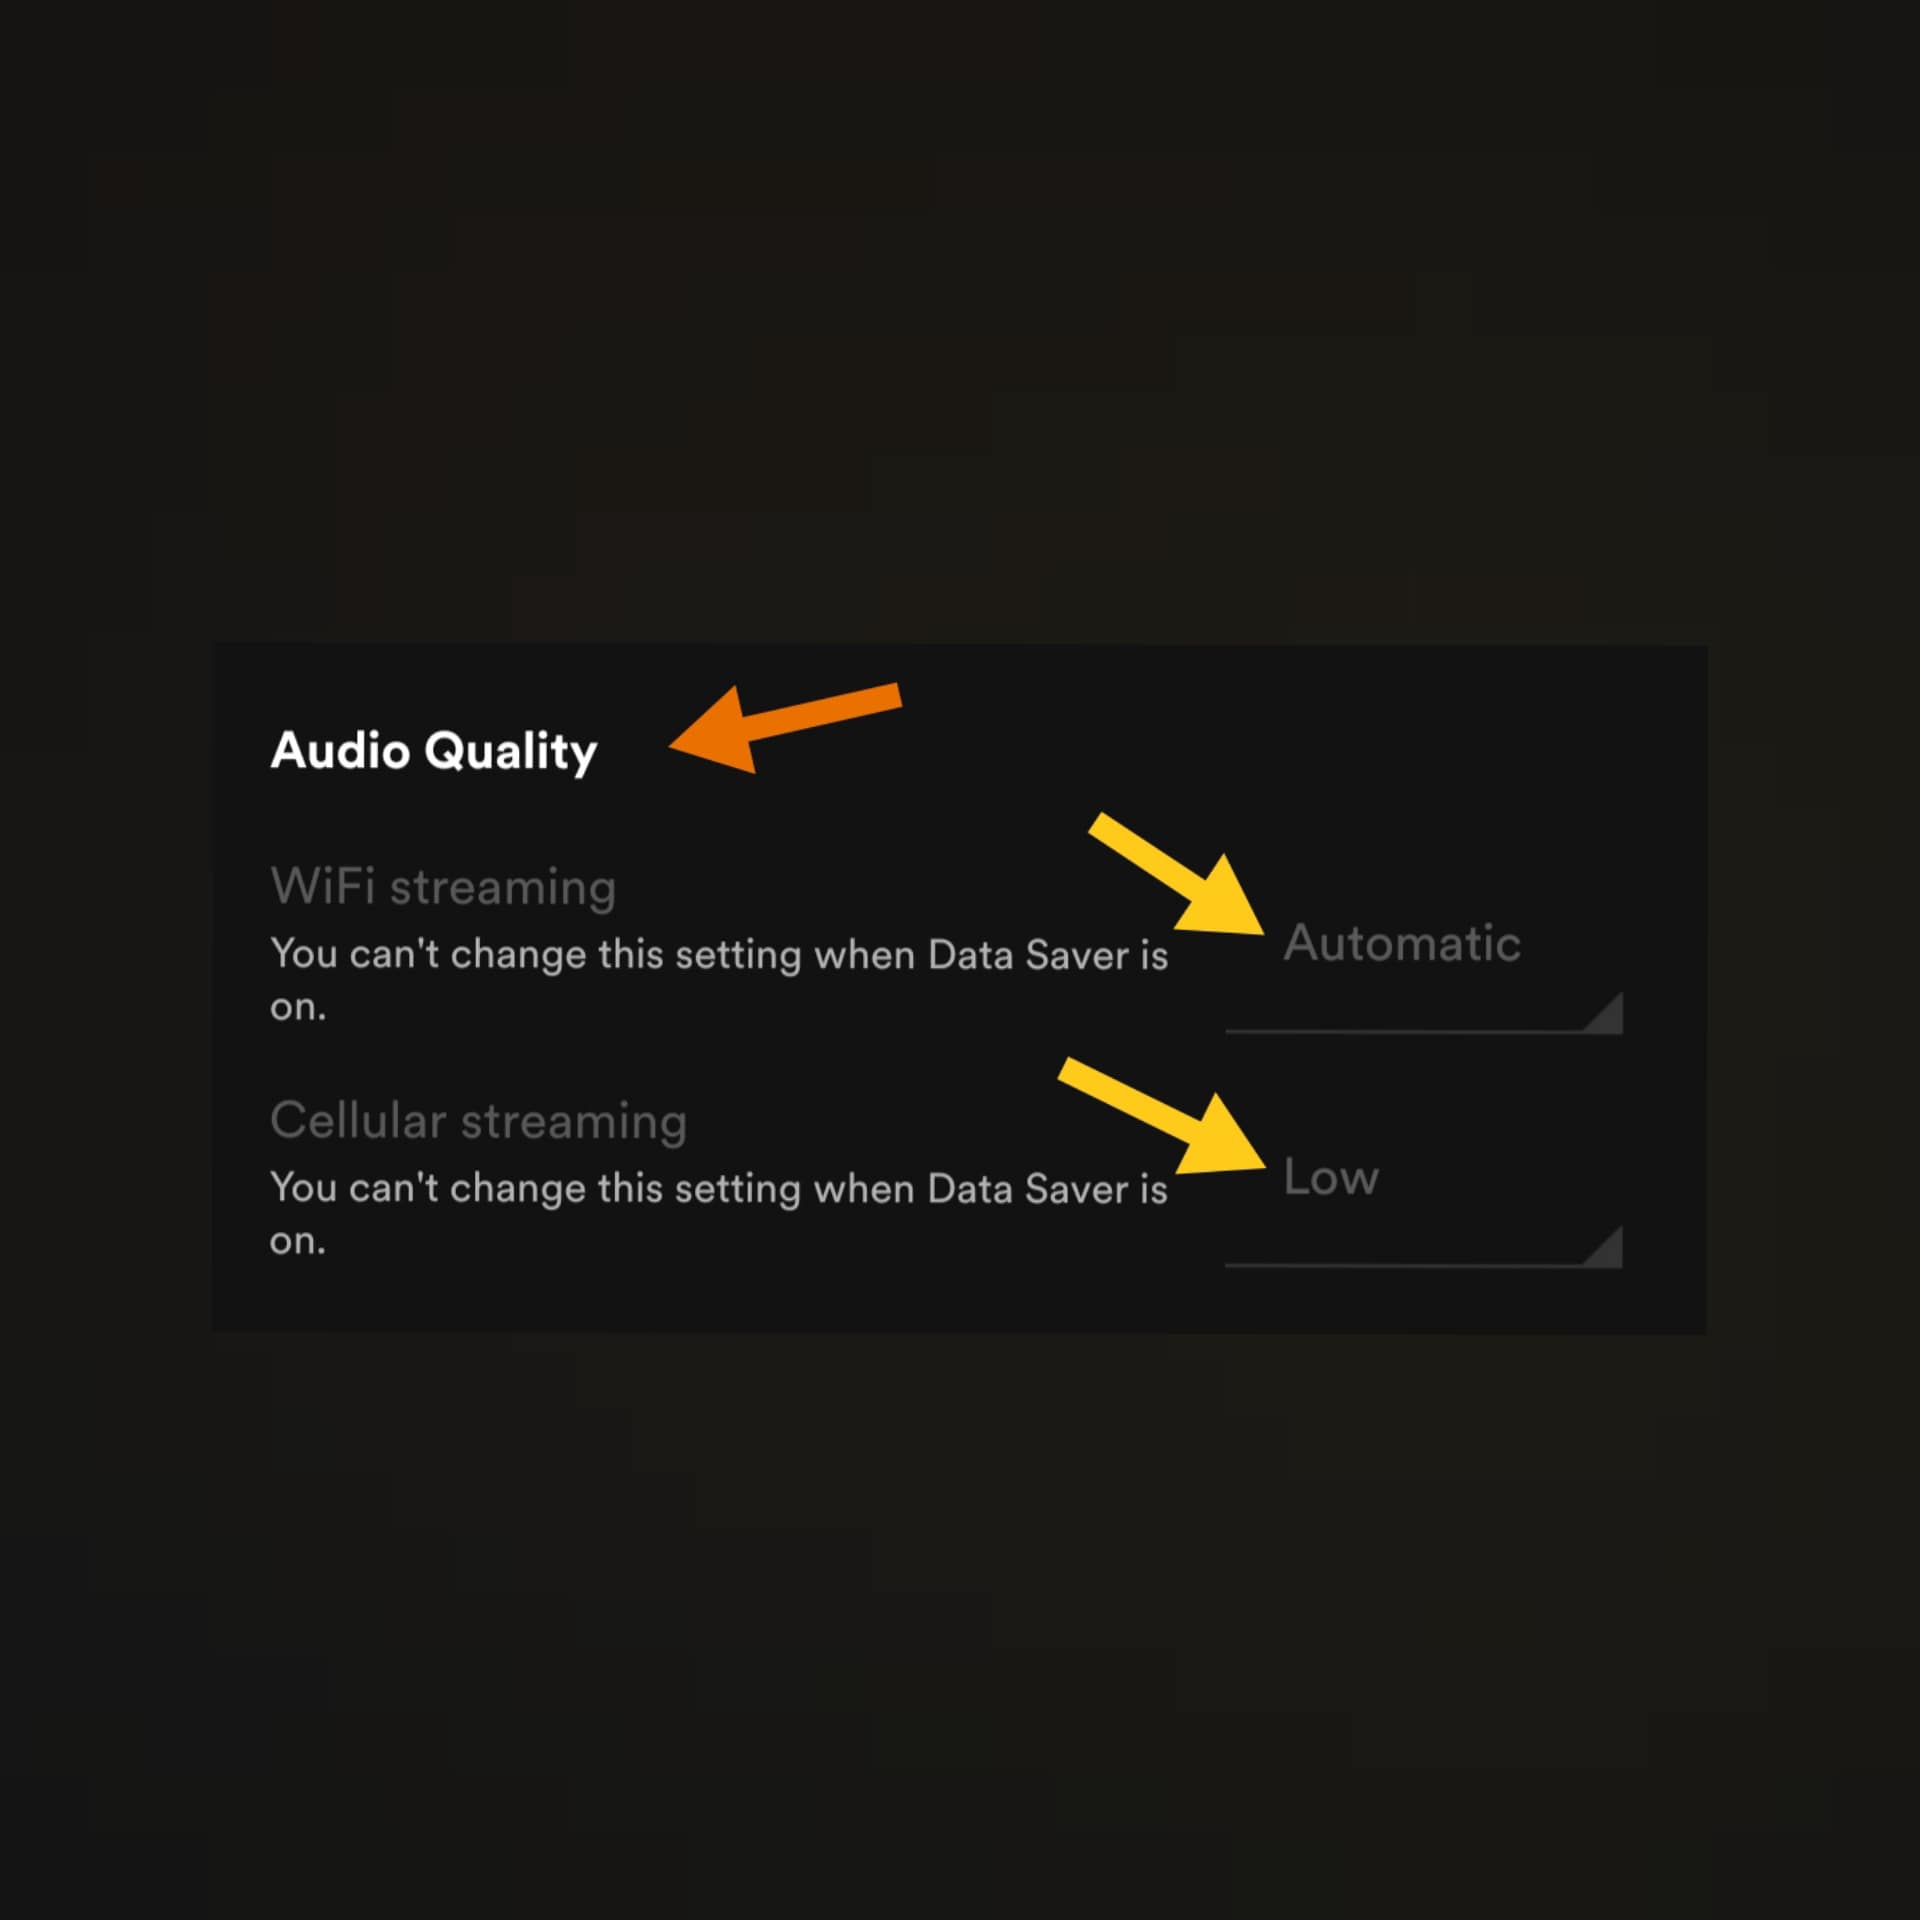
Now scroll down and you will see the Audio quality section, you can change the streaming quality in wifi streaming & cellular streaming setting, this can only be changed if you have a premium account.
For the desktop version.
Step 1
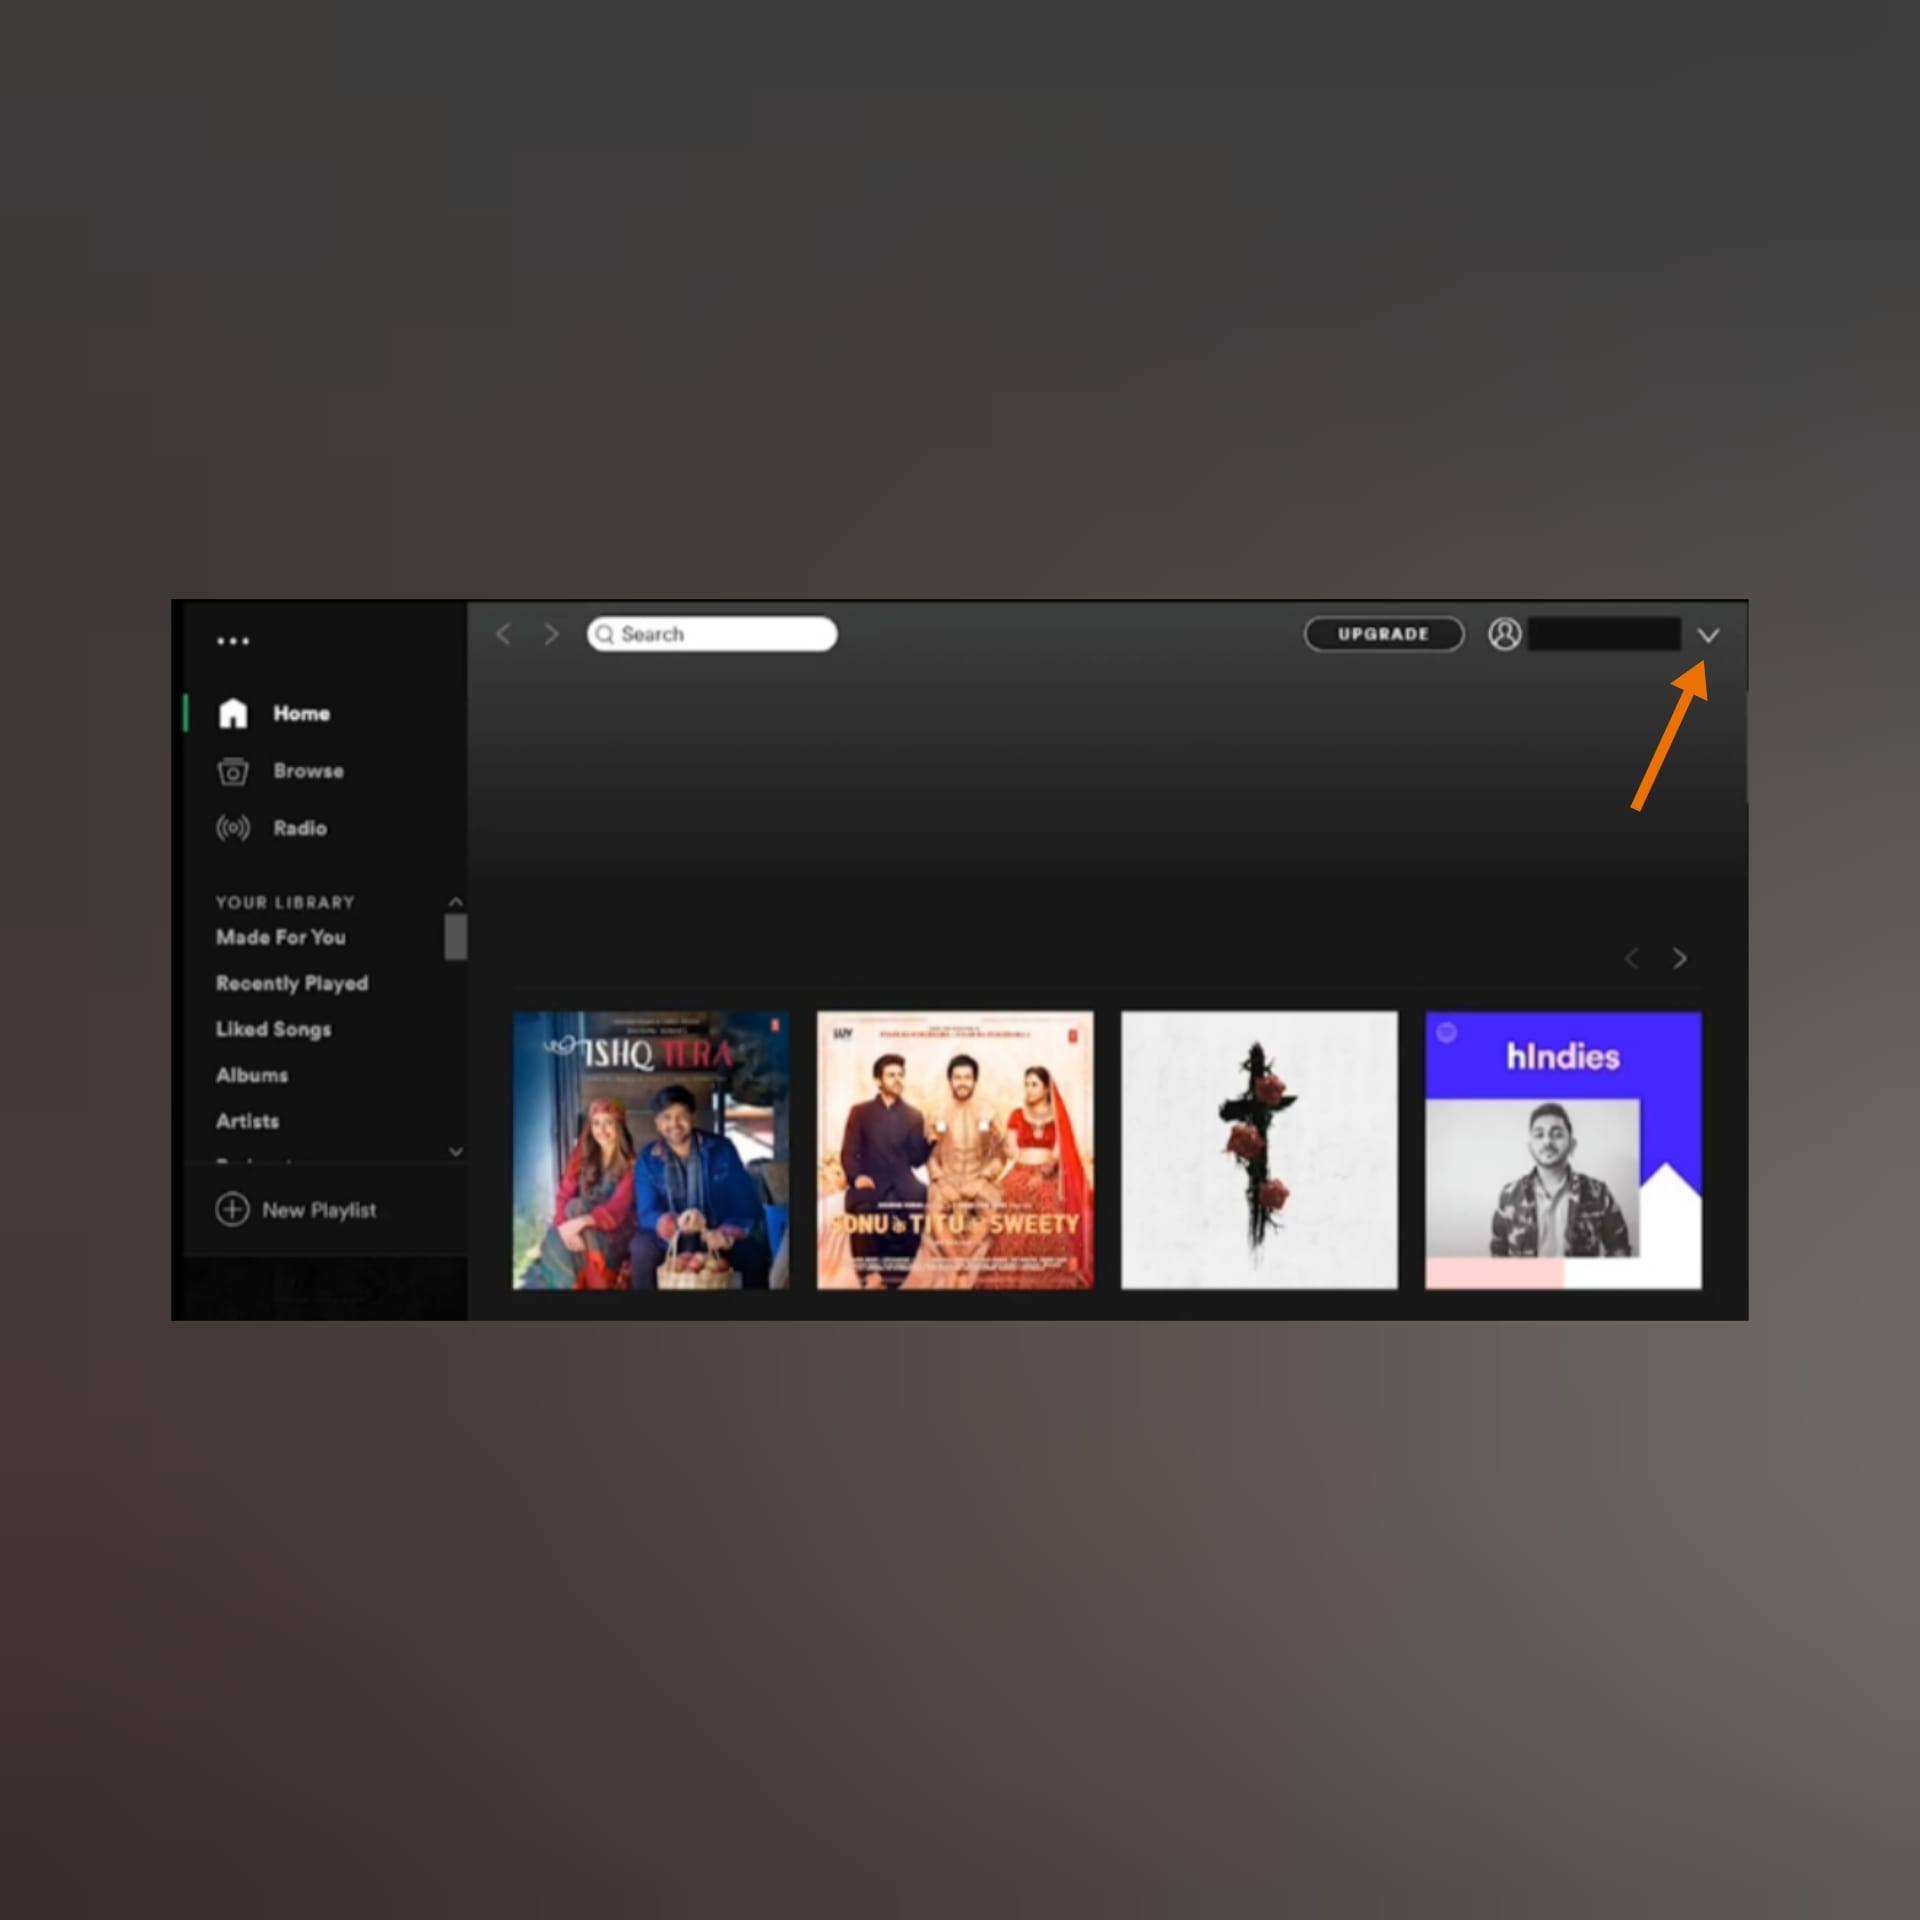
Click on the drop-down arrow on the top right.
Step 2
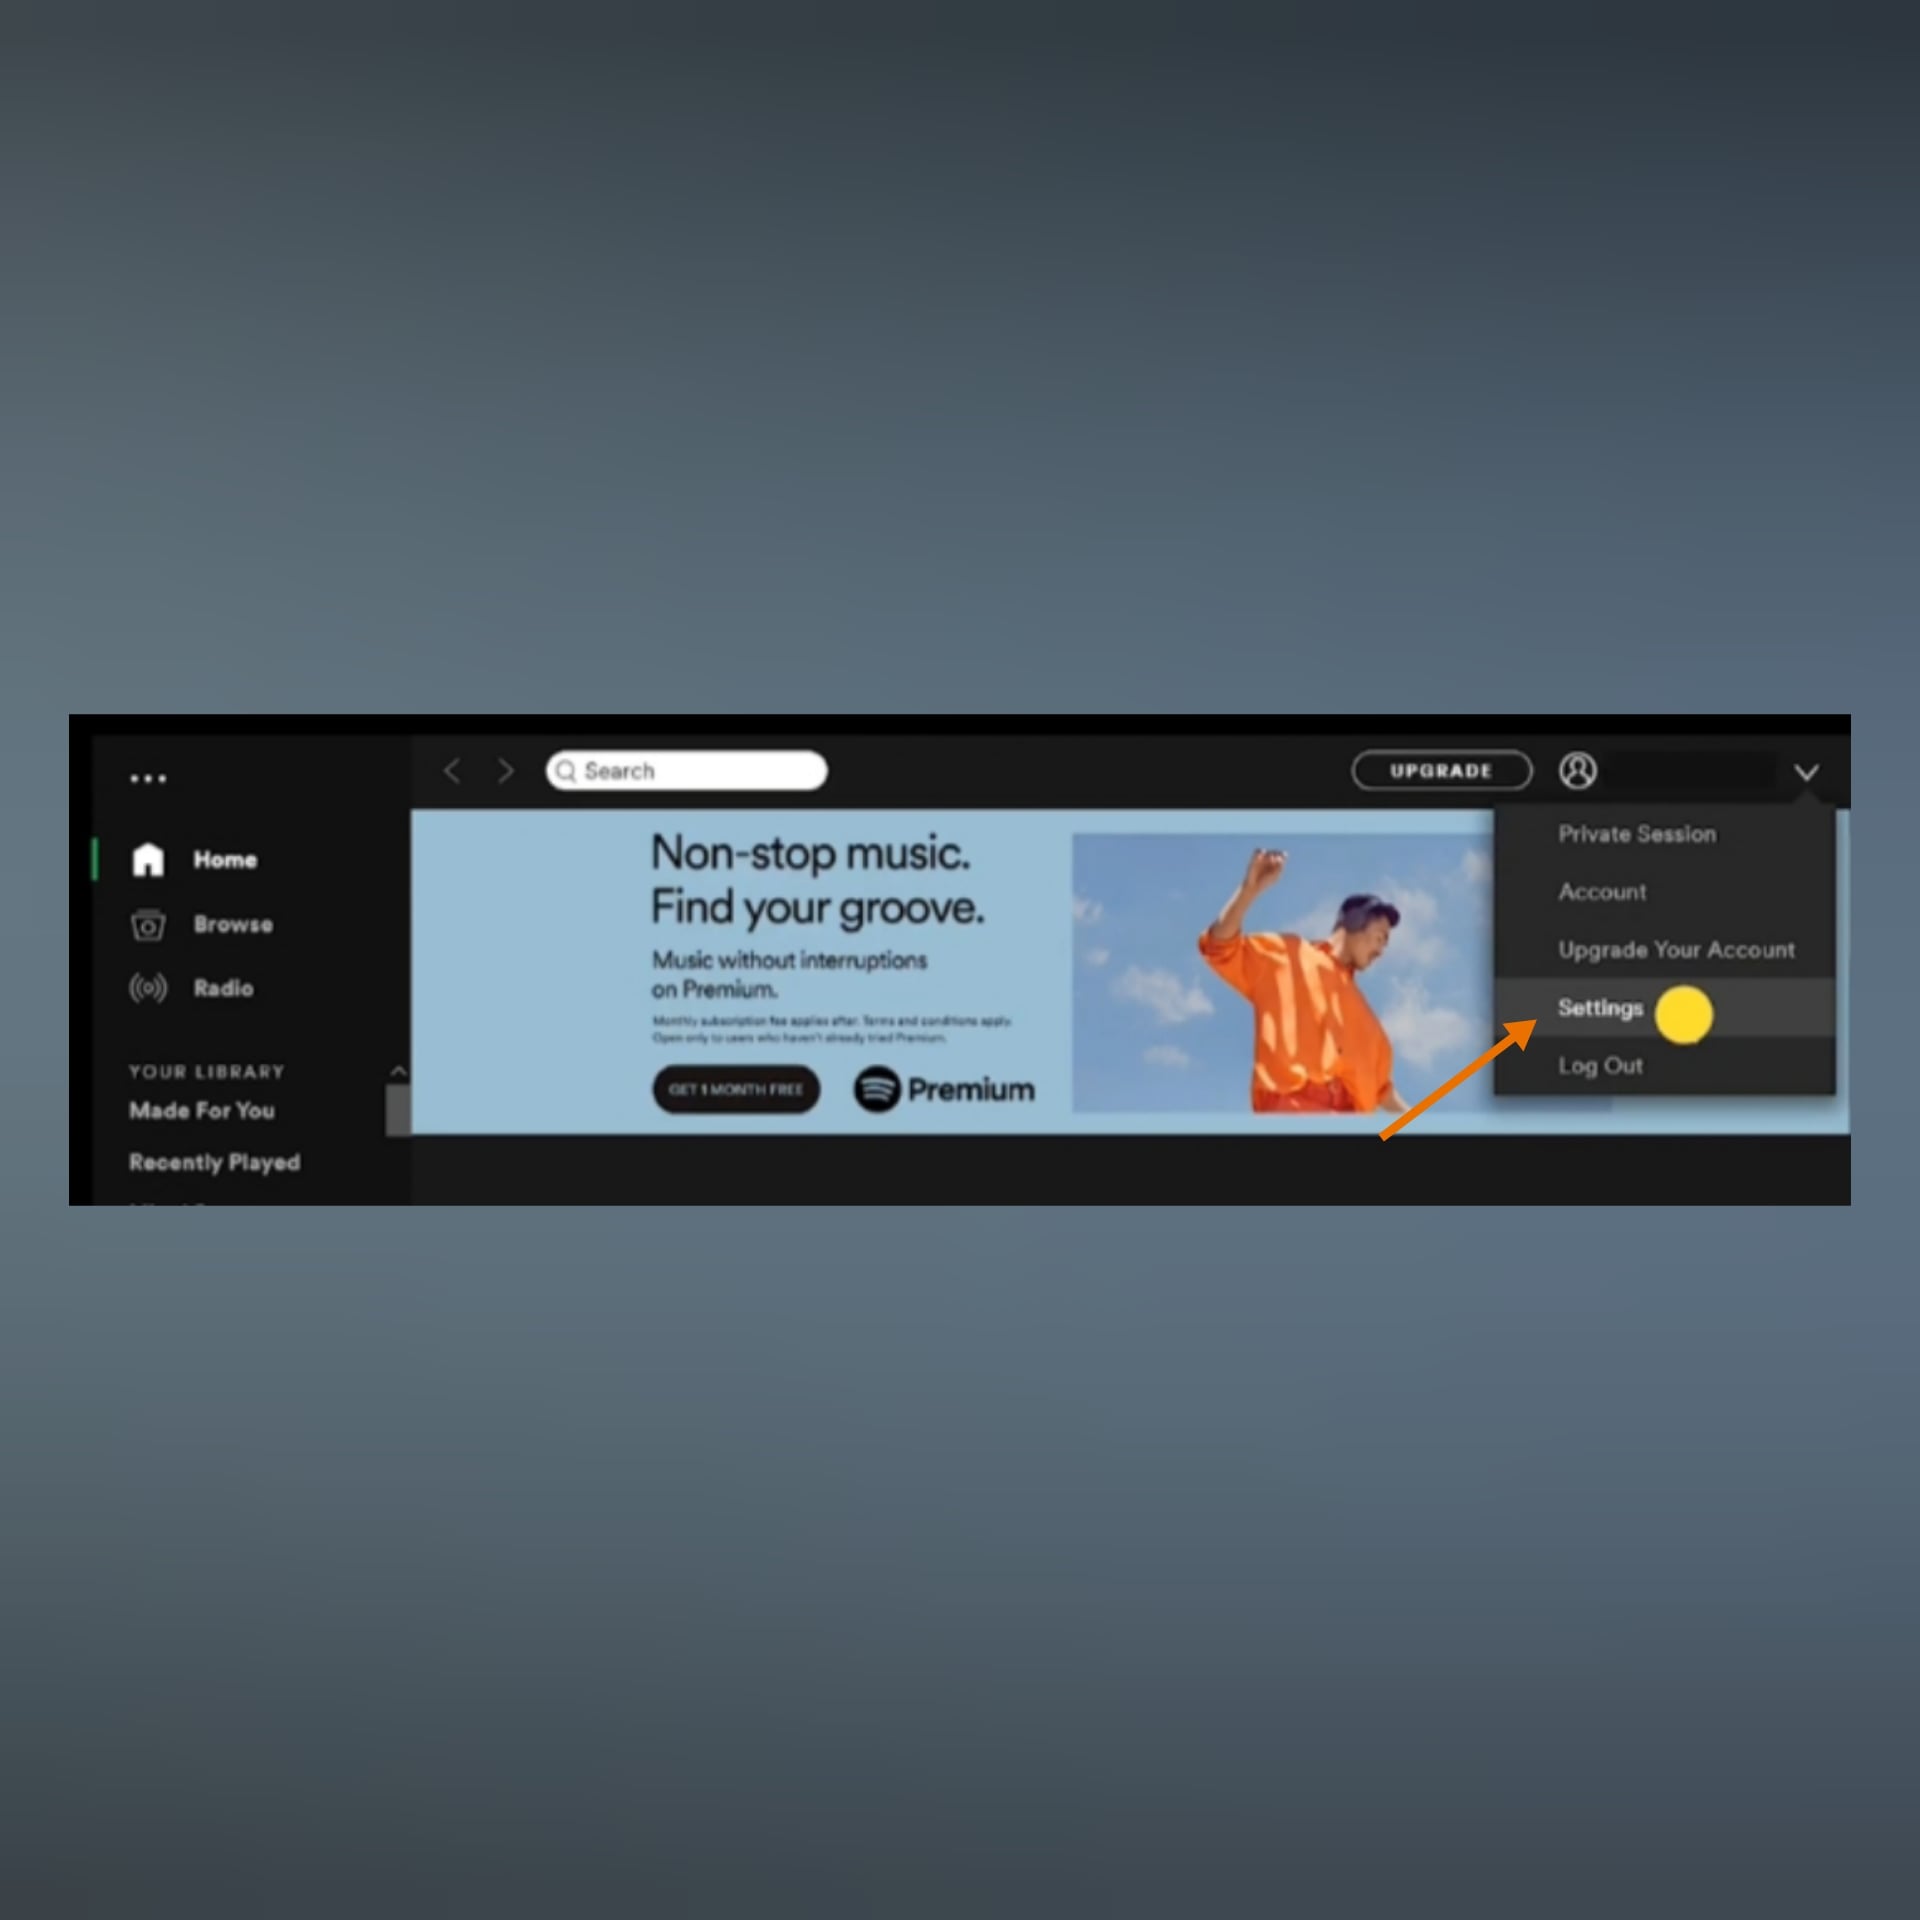
Click on the Settings option.
Step 4
Now you can see the music quality section, from here you can select the automatic option or the normal streaming option.
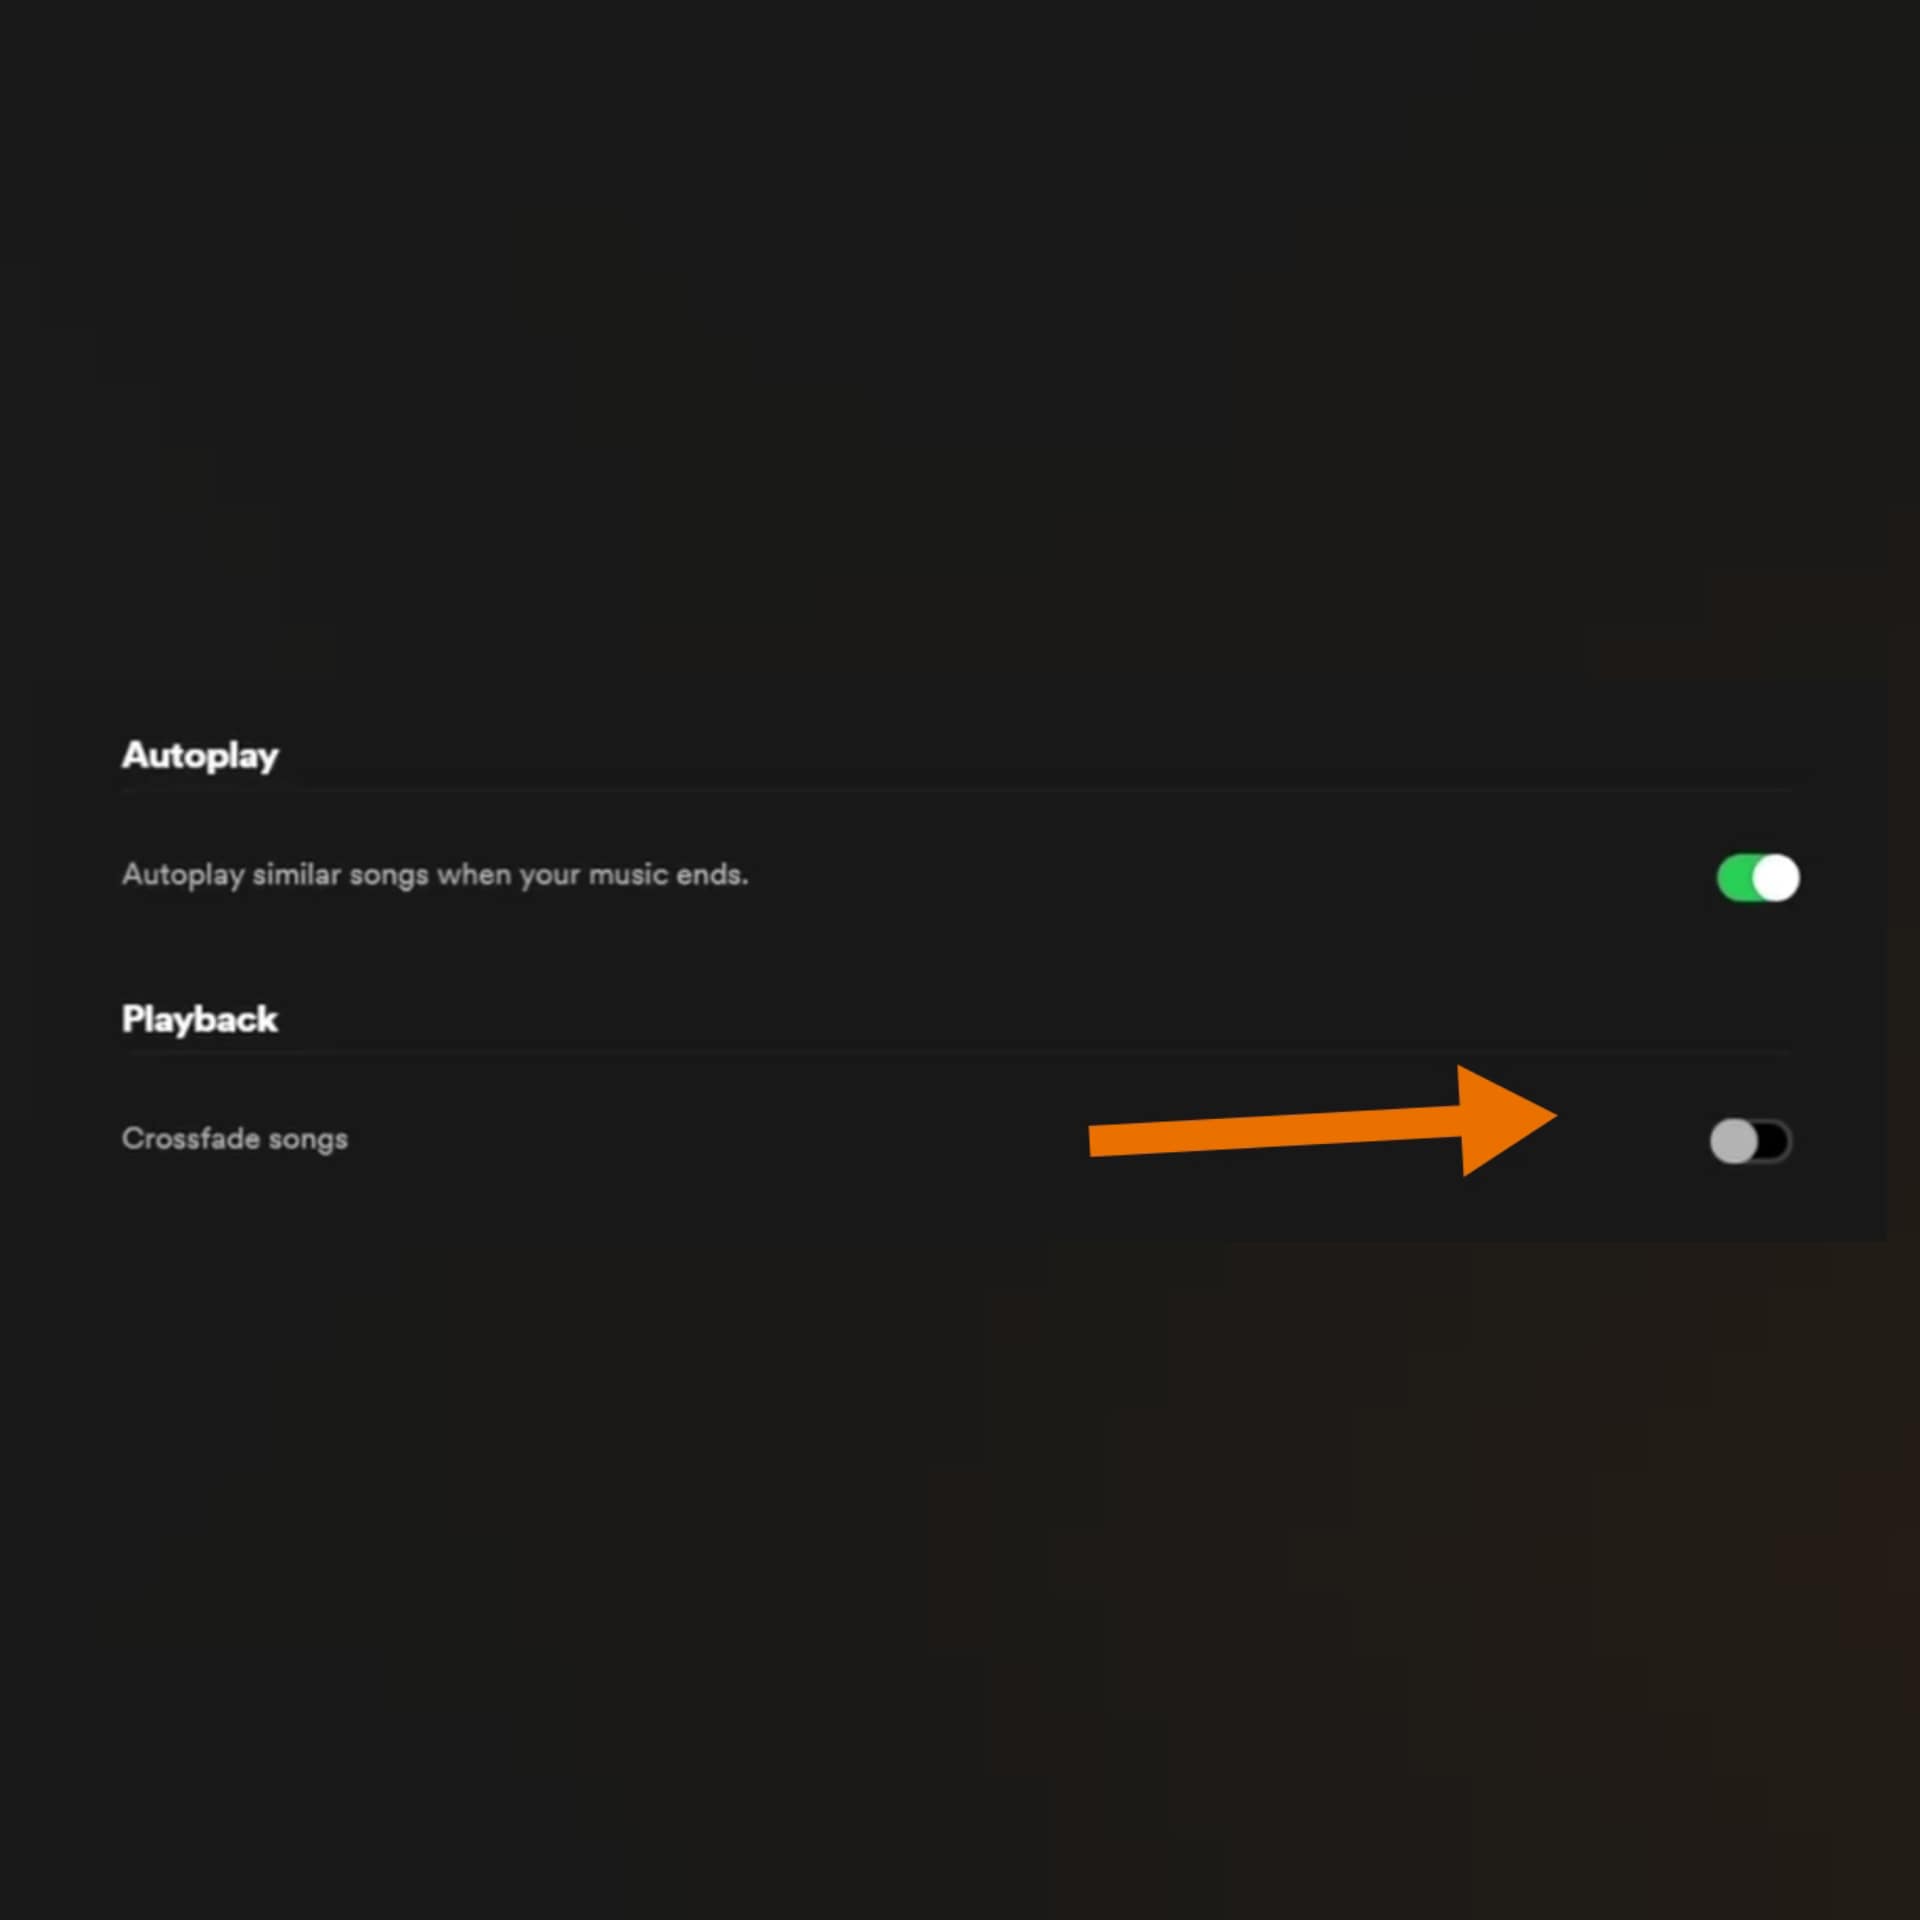
2. Disable crossfading
Crossfading helps in the transition, during your musical session it makes the transition smooth when one song ends and the other starts playing. Follow the steps shown below to disable the crossfading feature.
On your mobile app go to the settings option and scroll down a bit you will see the crossfade option, use the slide bar and slide it left ( until zero ) to turn it off.
For the desktop version open the Spotify web browser and select the drop-down arrow on the top right shown above and click on the Settings option
Step 1
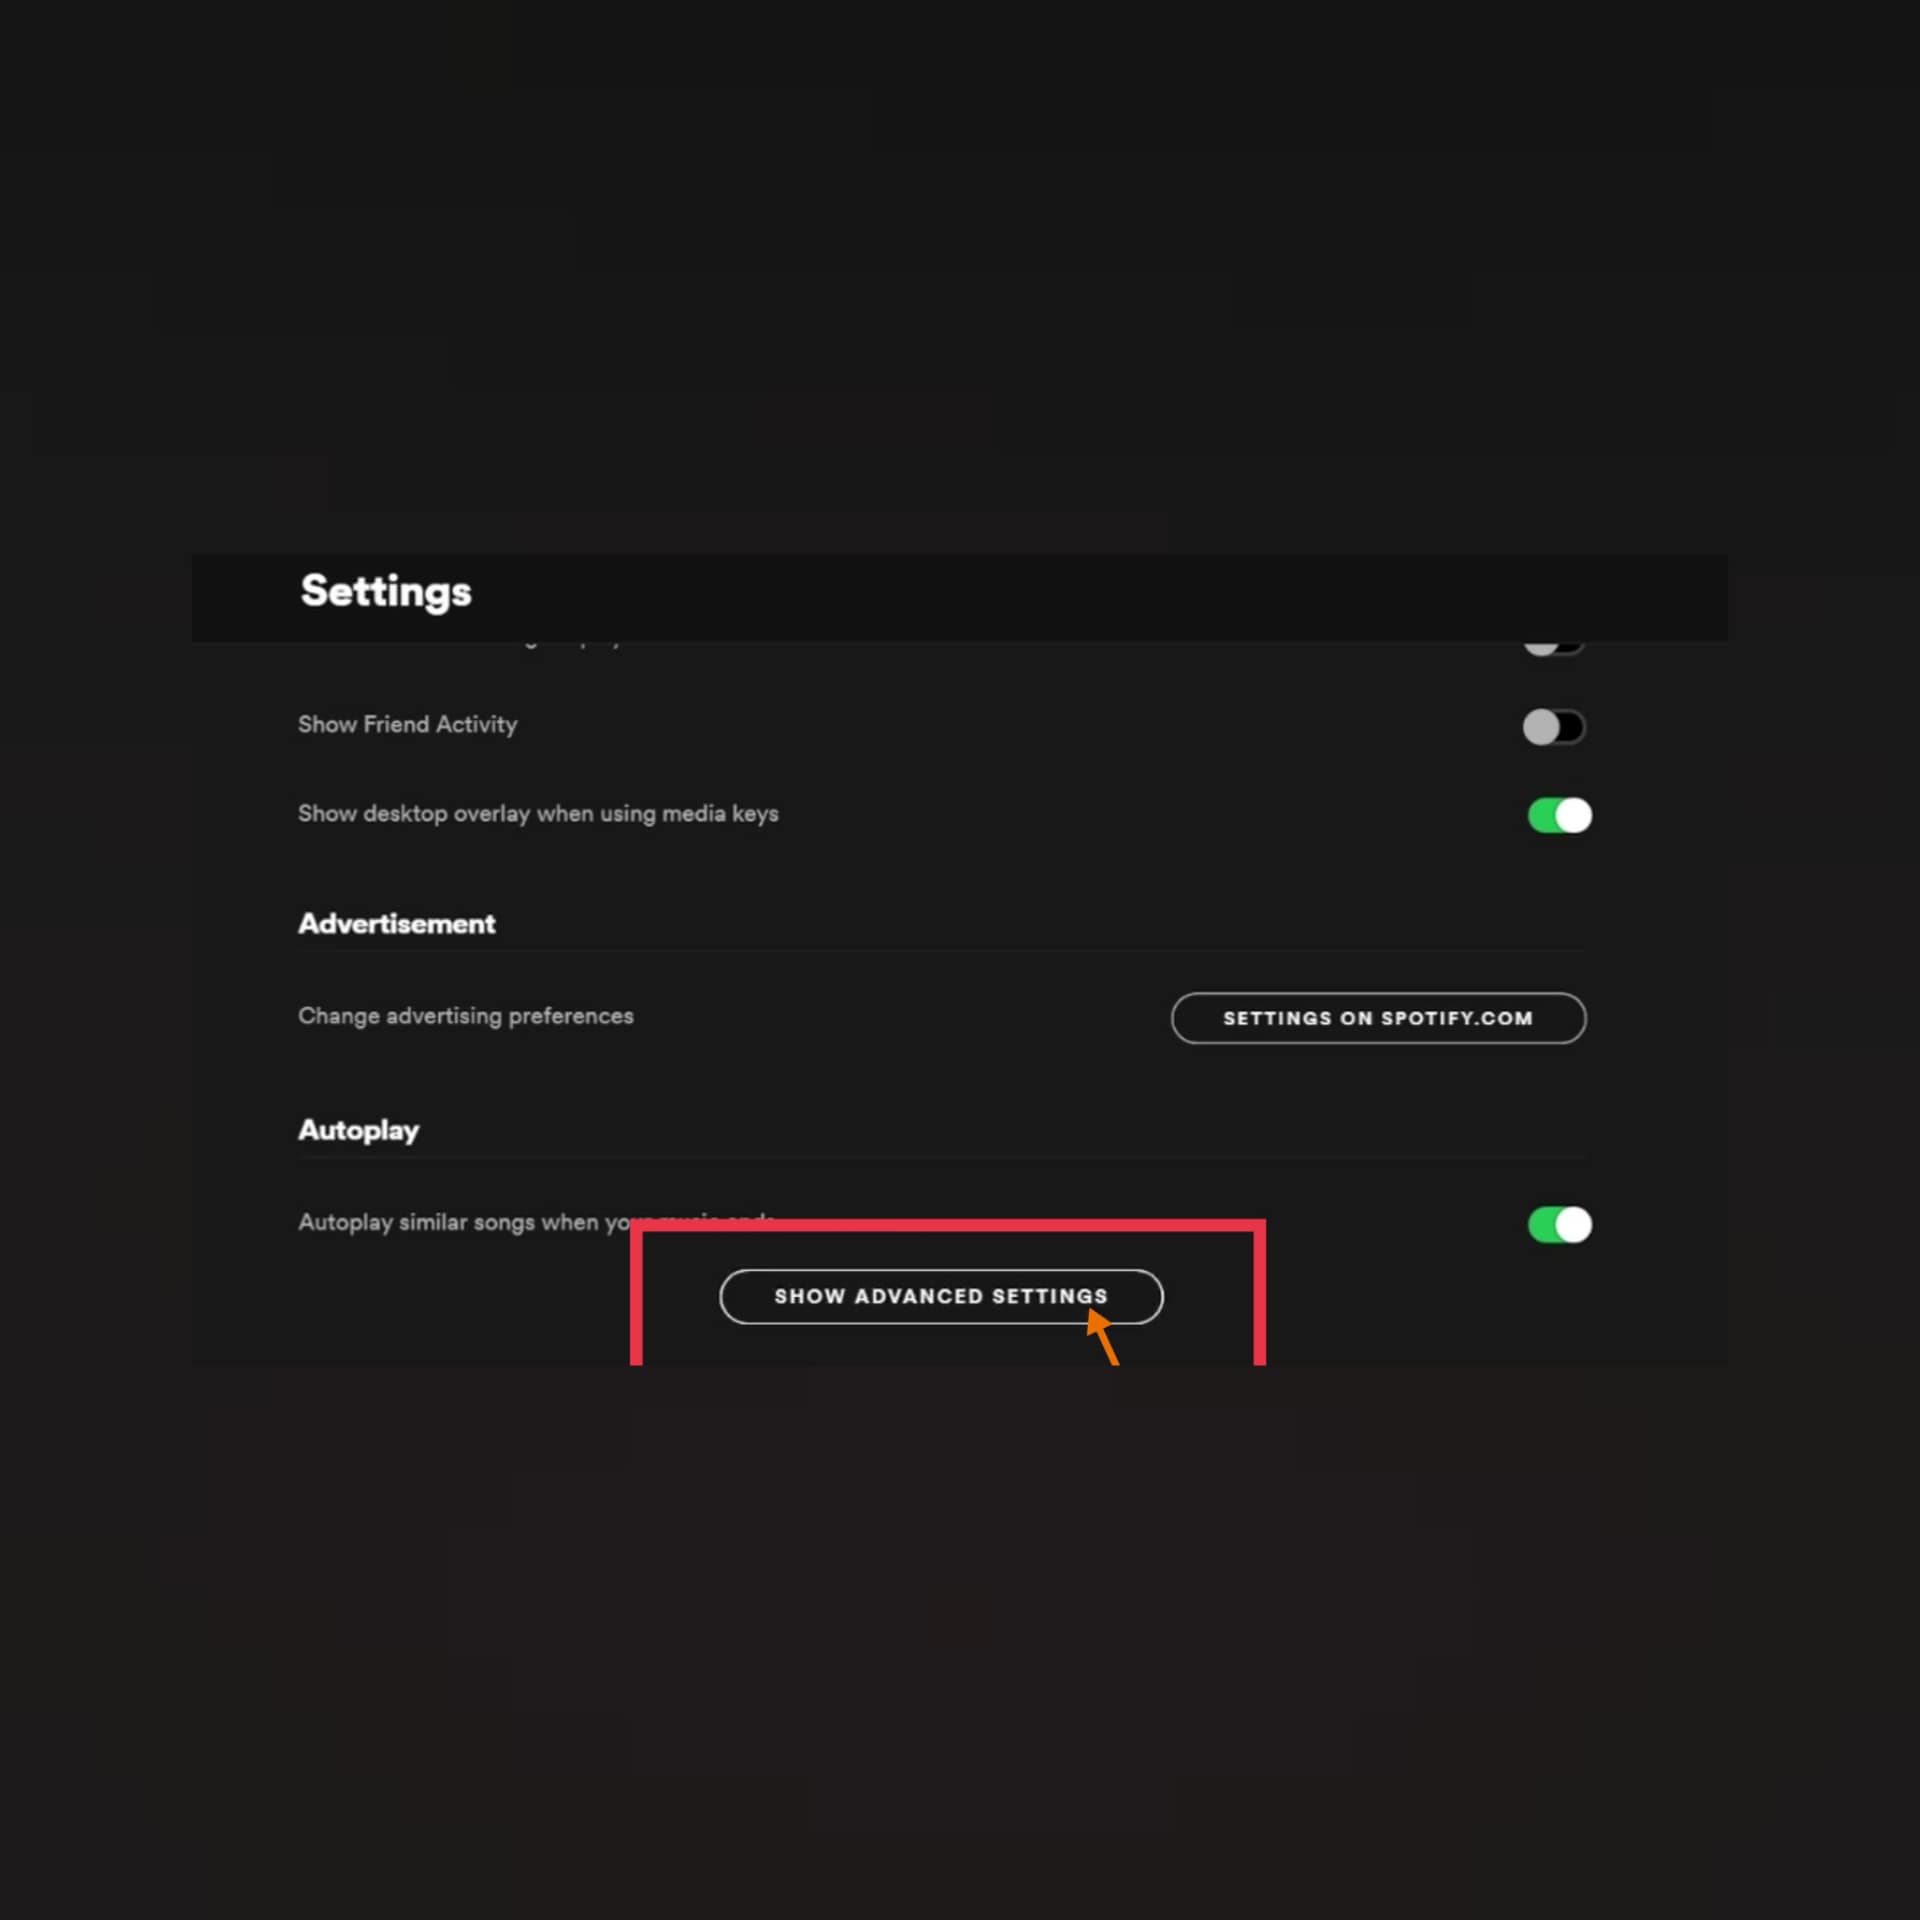
On the settings menu, Scroll down a little and click on the “Show advanced settings “option.

Step 2
Now on the advanced settings, you will be able to see the crossfade option in the playback section turn it off or you can set the time to zero. After this restart your app
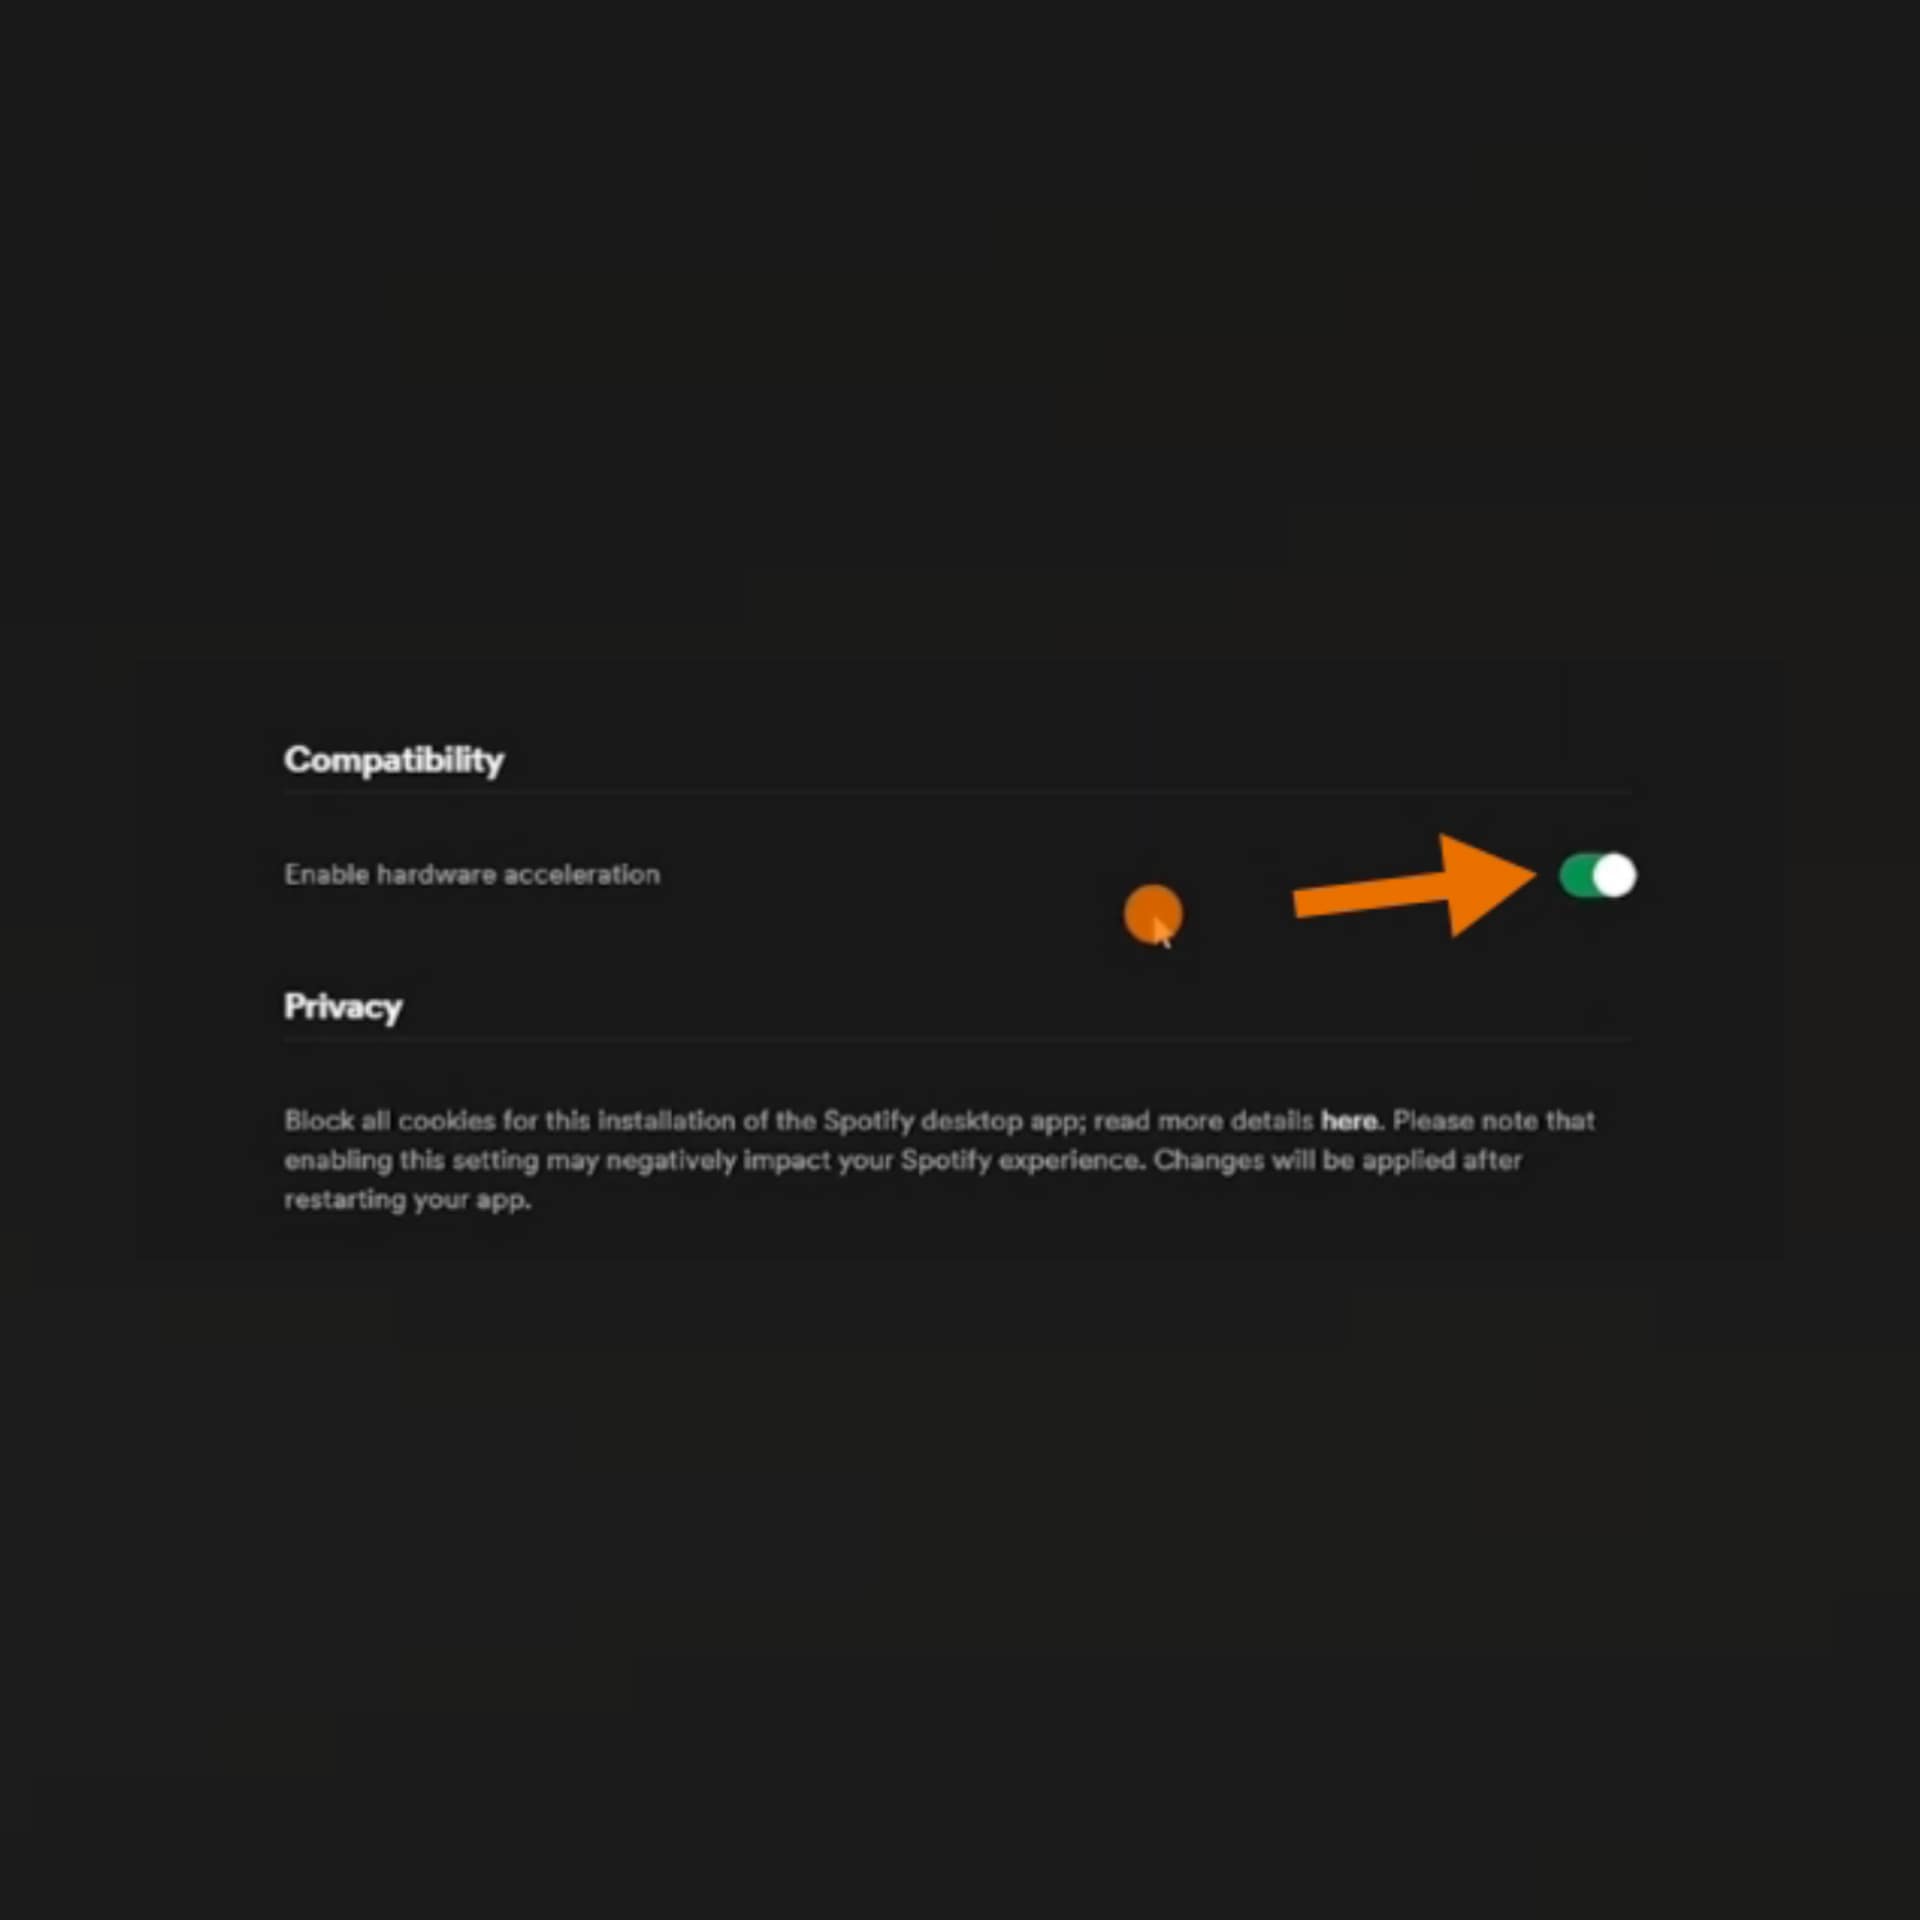
3. Disable hardware acceleration setting
Hardware acceleration helps the device to run smoothly for a better user experience but sometimes, the “can’t play it right now ” issue occurs because of this, you can disable it on your desktop using the following steps shown below.
Step 1
Open the setting options once again, by clicking the down arrow icon on top right.

Step 2
Now scroll down a little and you will see the “Show advanced settings ” click on it.
Step 3
Now scroll down, and look for the compatibility section there you will find the “Enable hardware acceleration ” and turn it off. Now restart your Spotify.
4. Clear cache files
Sometimes, this problem occurs because of insufficient storage try clearing the cache files.
Follow the steps to clear the cache files.
Step 1
To locate the file go to the “advanced setting option ” and there you will find the “offline song storage ” copy the link to move ahead.
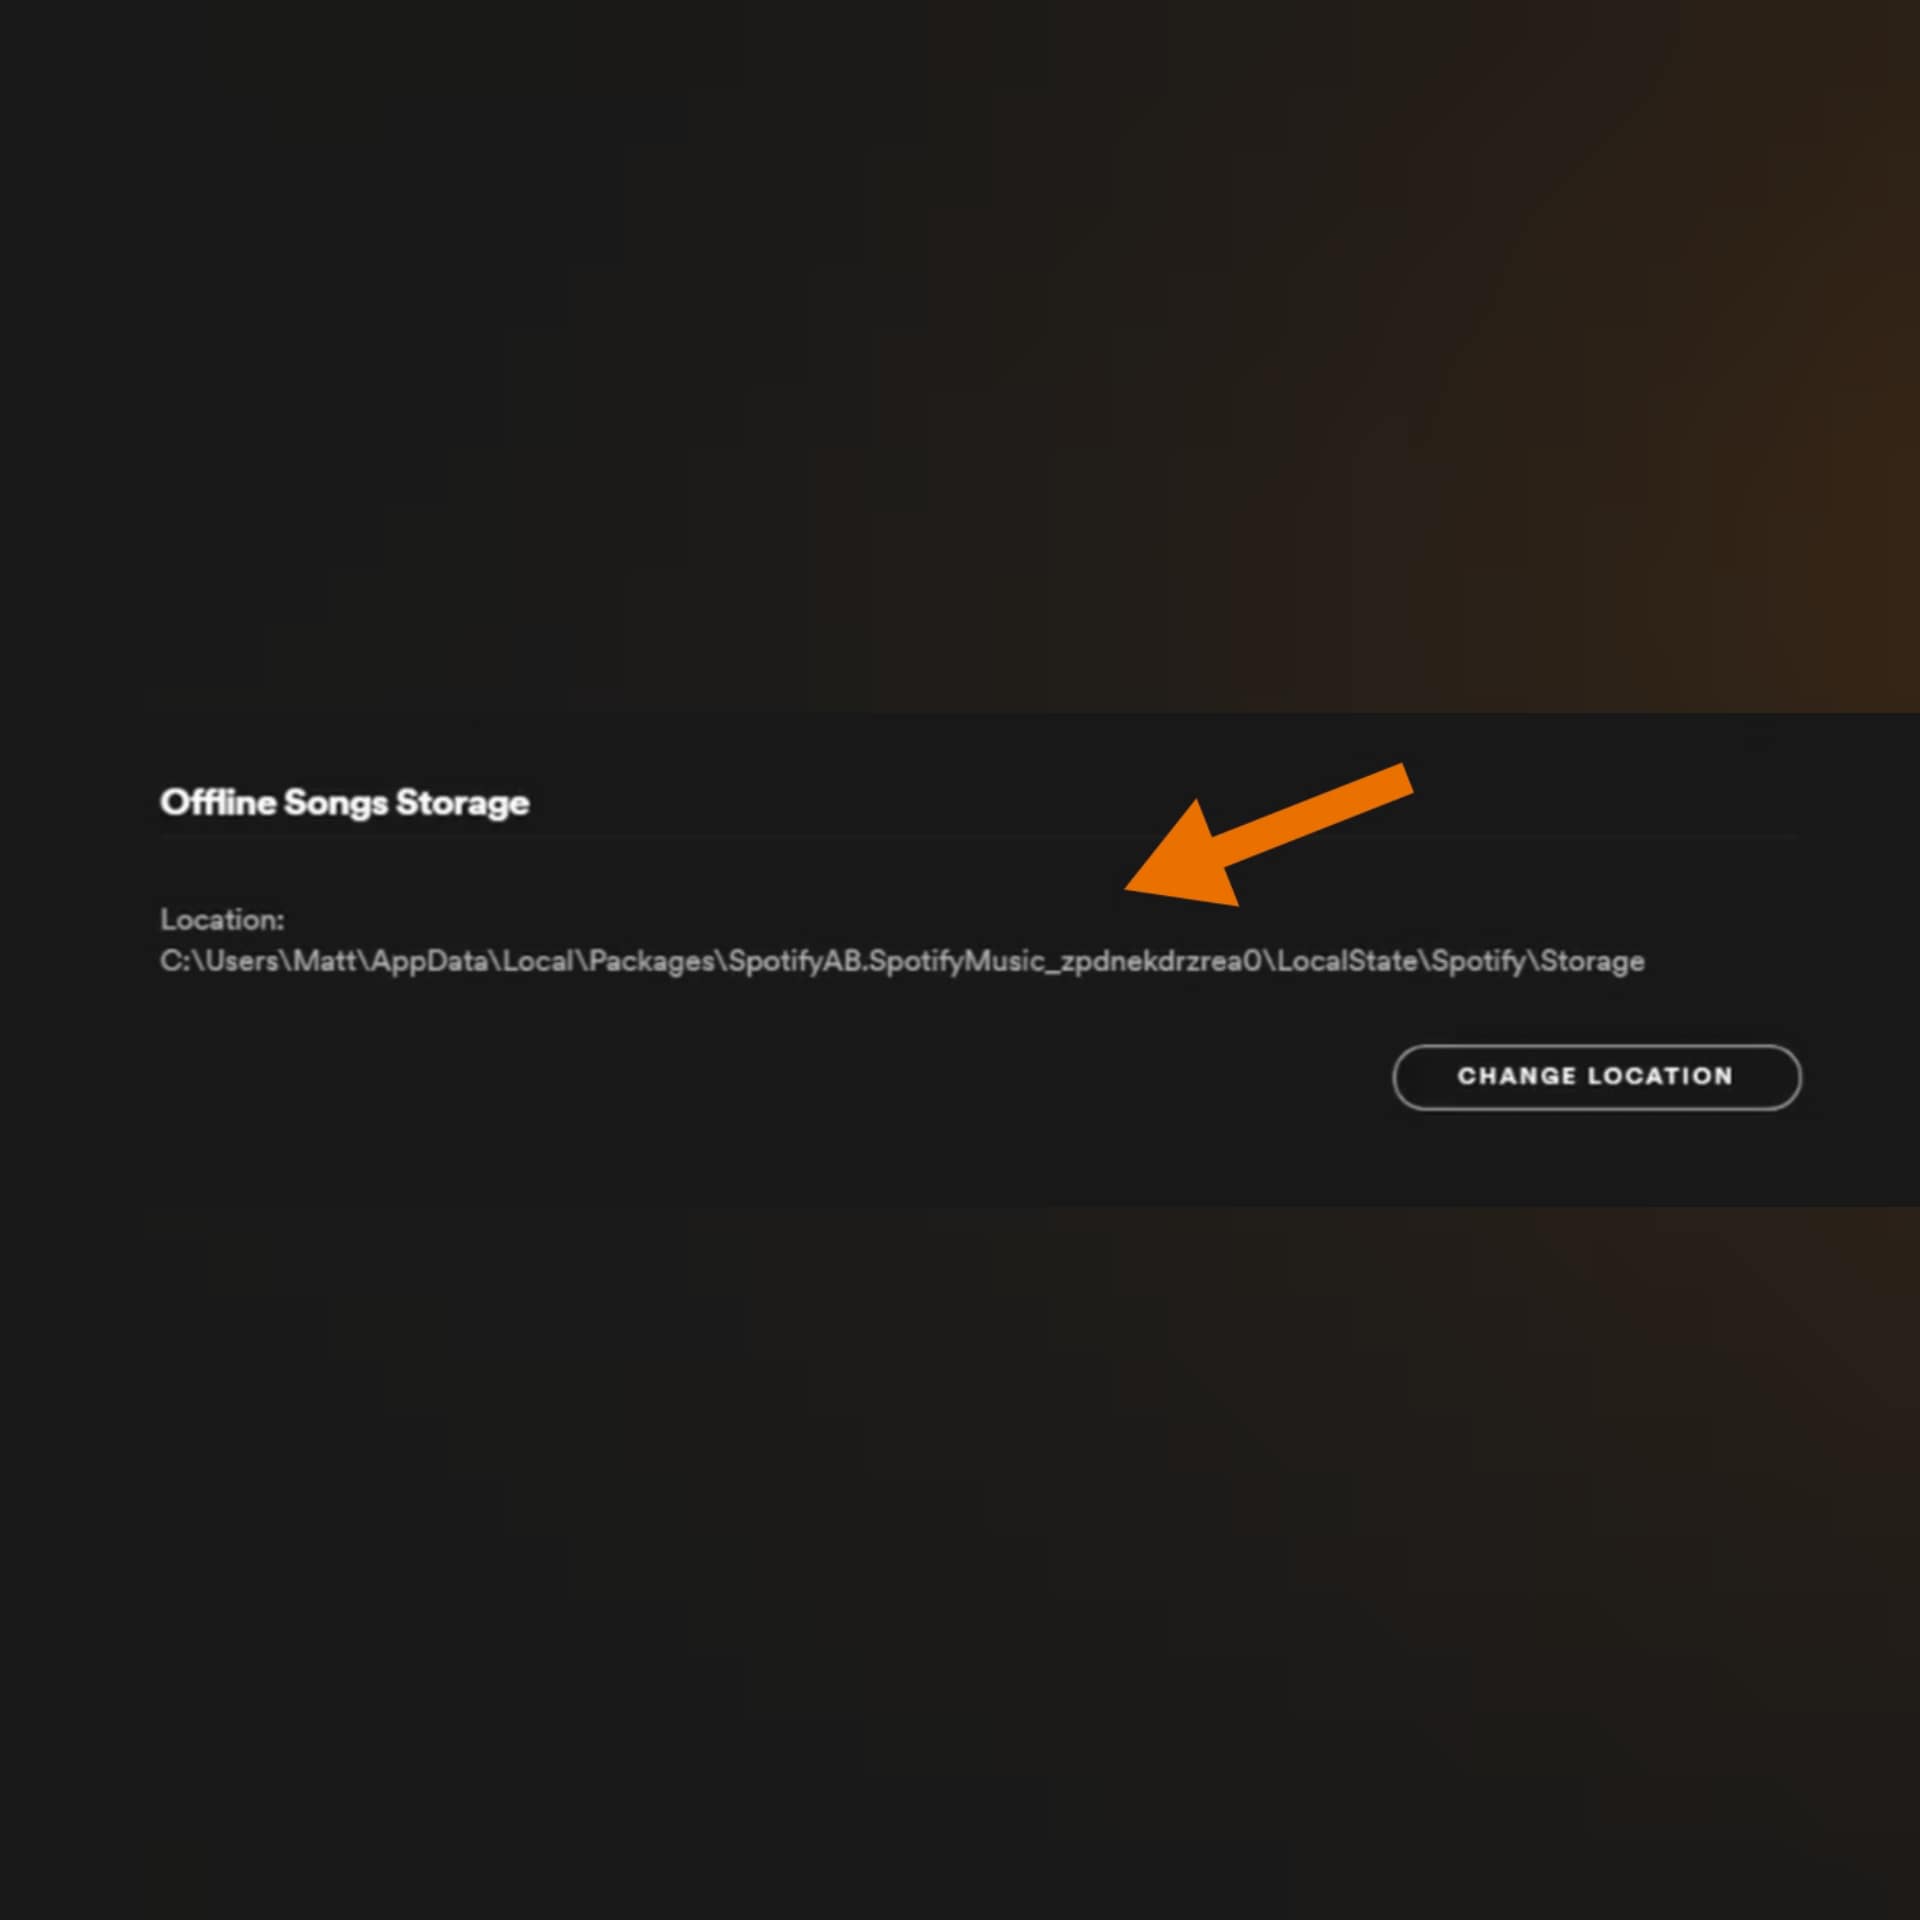
Step 2
Once you copied the location go to the file explorer to see the app folder. Unhide the hidden app data to see the file.
Step 3
Now delete all the available files in the folder, now restart Spotify.
Also, see why Spotify shuffle is repeating songs.
5. Reinstall the app
If any solution given above doesn’t work go to Spotify support they will surely help you with your problem.
This method is really old and works almost all the time. For this you have to Uninstall Spotify from your device and reinstall the app again, it should fix this problem.
Note: some songs may not be played because of the availability this can happen to a few songs because of copyright issues in your region. You can go to the setting and there go for the “Display ” option and then turn on the “show available song in the playlist” feature.
So now, you know how to fix this problem and now you can get back to your chill session with your favorite songs without any interruption. If you are a free Spotify user like me we will continue being irritated by the wonderful Spotify ads.