When you connect a device to a network, it is configured to remember the network settings for future connections.
This may result in the PC/Device automatically connecting to the network, which might cause problems, especially if you have two independent networks at home.
This article will guide you on how to forget wifi network on Windows 11 or Windows 10 devices.
Let us start by learning how to delete a wifi network from a Windows 11 device. Since window 11 is the latest update we have from Microsoft.
We will discuss four ways to forget a wifi network on a Windows 11 device. We’ll go through them one by one. Let us begin with the easiest of the three methods.
How to forget a network on Windows 11 – Method 1
In this step, we will look at the simplest way to forget a network on a Windows 11 device.
1) Ensure that you are connected to the Network you prefer to forget.
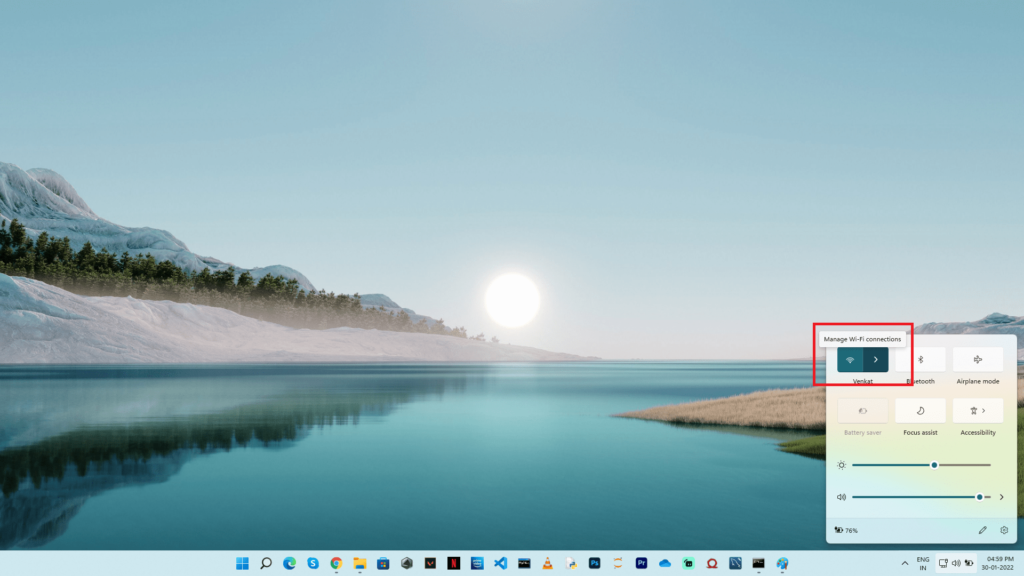
2) In the bottom right corner of the taskbar, click on the Network icon in the action center.
3) Select Manage Wi-Fi Connections. This will provide a list of WiFi networks to which you are currently connected.
4) Look up the network you want to forget forever.

5) From the drop-down menu, right-click on the network and select Forget.
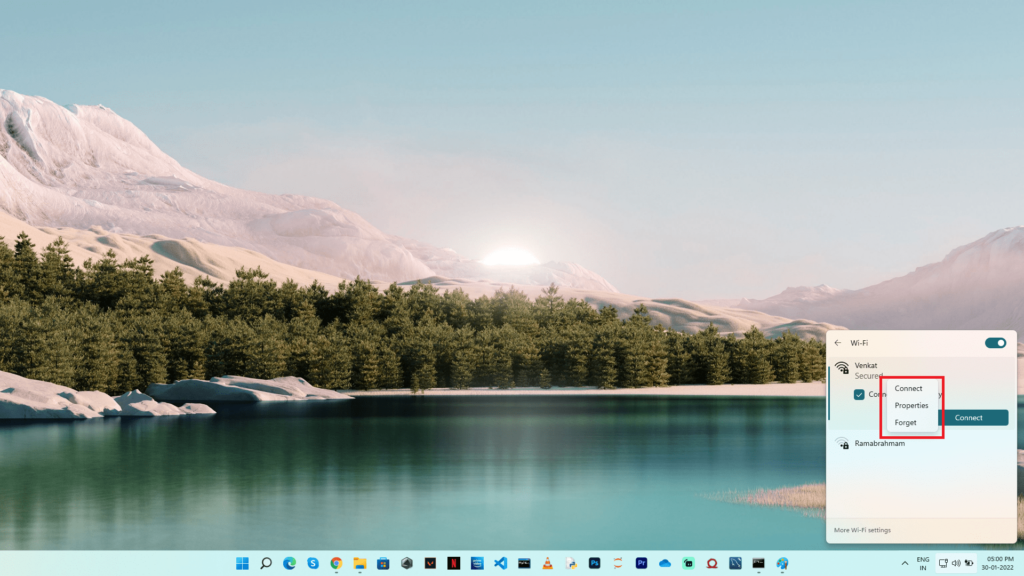
6) The network will be removed from the list.
Users should keep in mind that if they remove the network to which they are currently connected, Windows will automatically disconnect the network before removing it.
Also, see how to fix Wifi IP Configuration Error
How to forget a network on Windows 11 – Method 2
We’ll look at a more advanced method for removing a wifi network from a Windows device in this method.
We will use this way to force the Windows device to forget the wifi settings.
To force Windows to forget a Wi-fi network, follow the steps below.
1) Check that you are connected to the Network you need to forget.
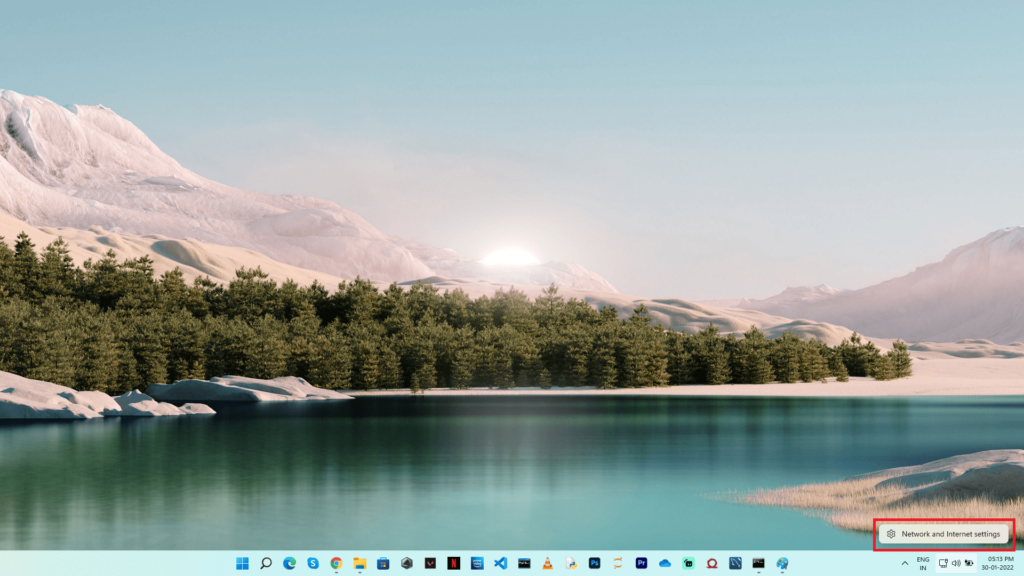
2) In the bottom right corner, right-click on the Network symbol.
3) Select Network and Internet options from the drop-down menu.
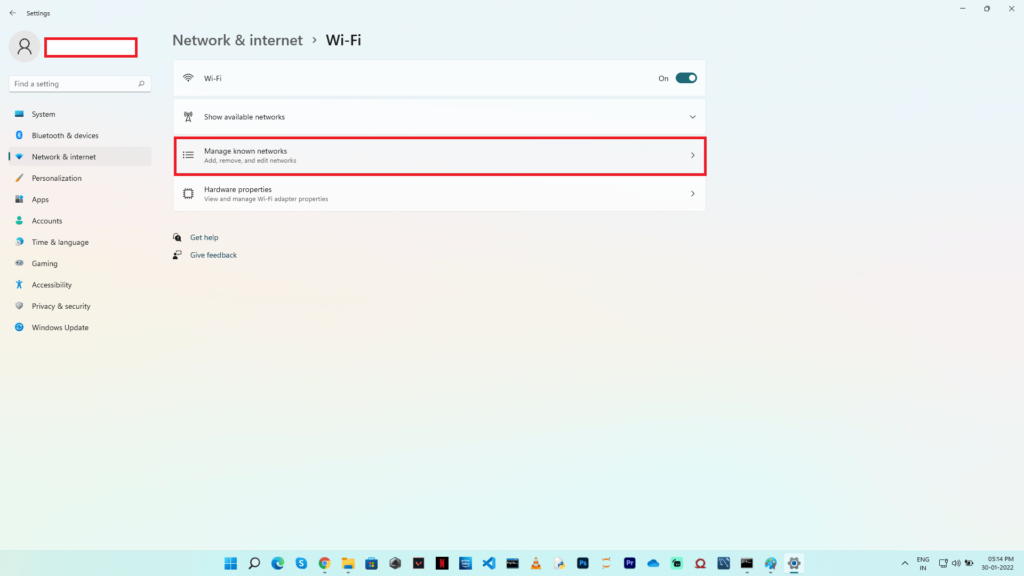
4) Click on Wi-fi.
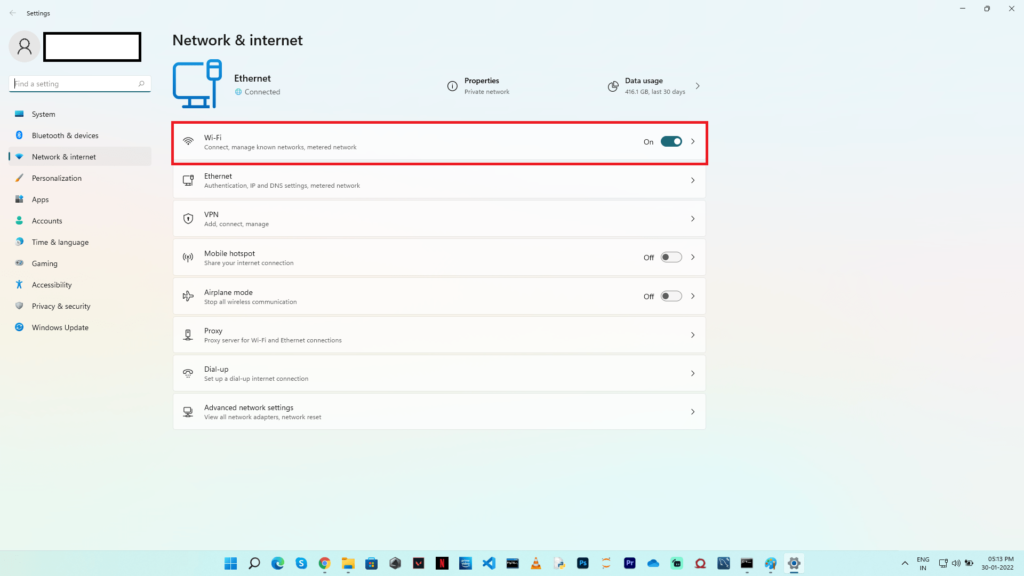
5) Select the option Manage Known Networks.
6) Locate the Network you wish to delete and click the Forget button.
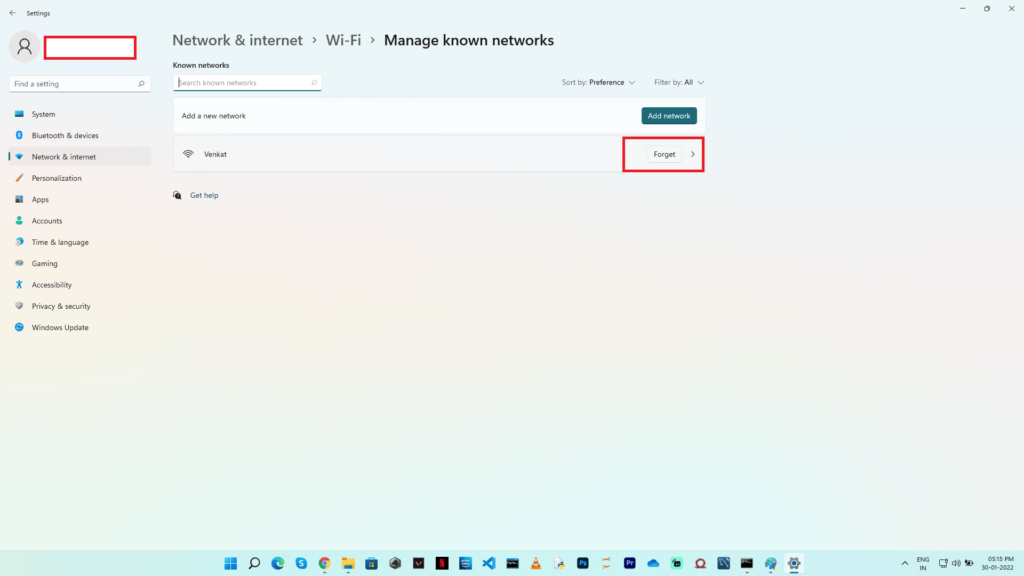
7) The network will be removed from the list, and the list will get updated.
How to forget a network on Windows 11 – Method 3
We’ll use the command prompt in this method to make the system forget about all the Wi-Fi networks.
The following steps must be taken in order to remove the Network from the Device.
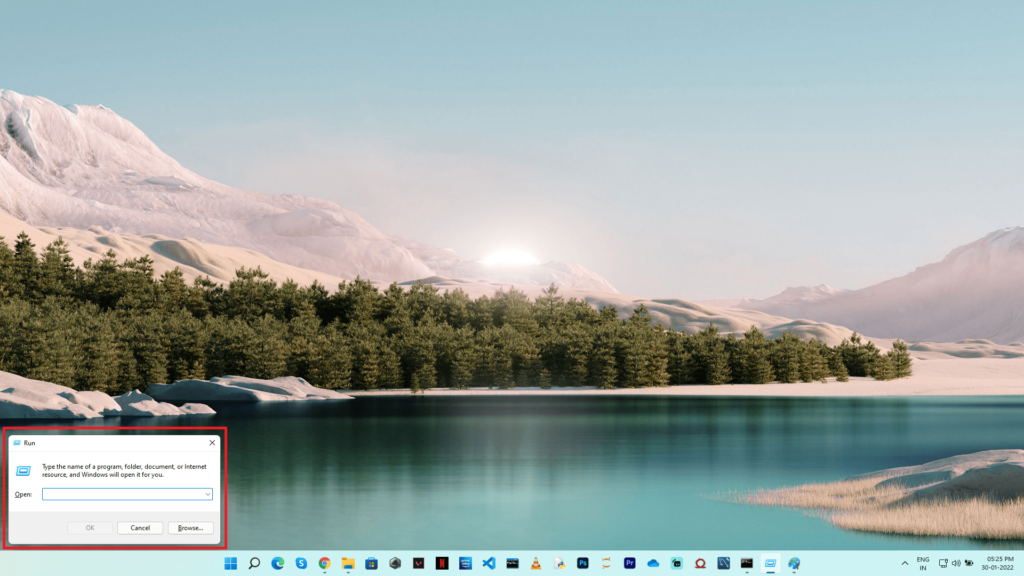
1) Hold down the Windows Key and press the R key. (Win + R)

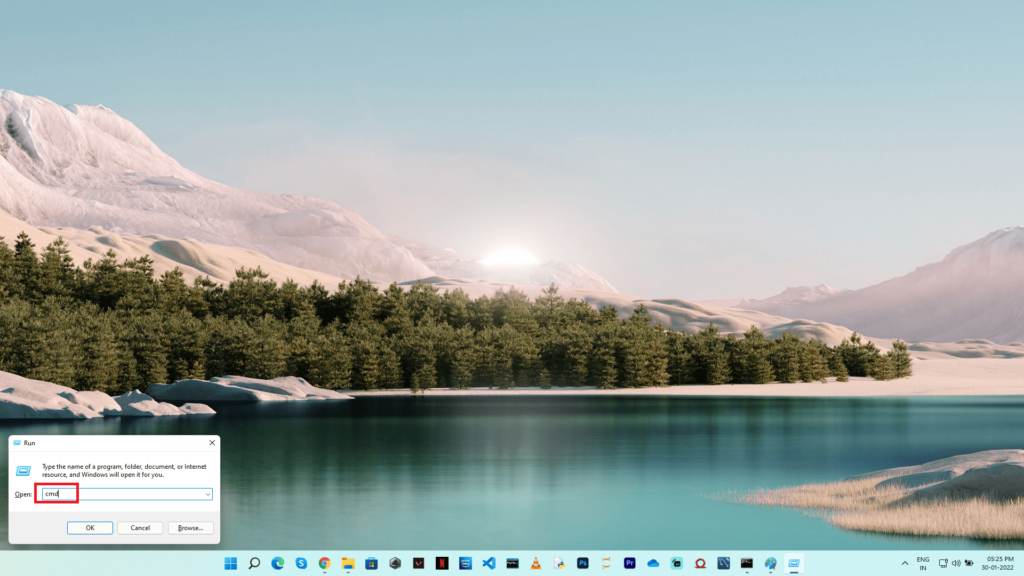
2) Type cmd and press Enter. This will launch the command prompt.

3) Enter netsh wlan remove profile name=* i=* into the command prompt.
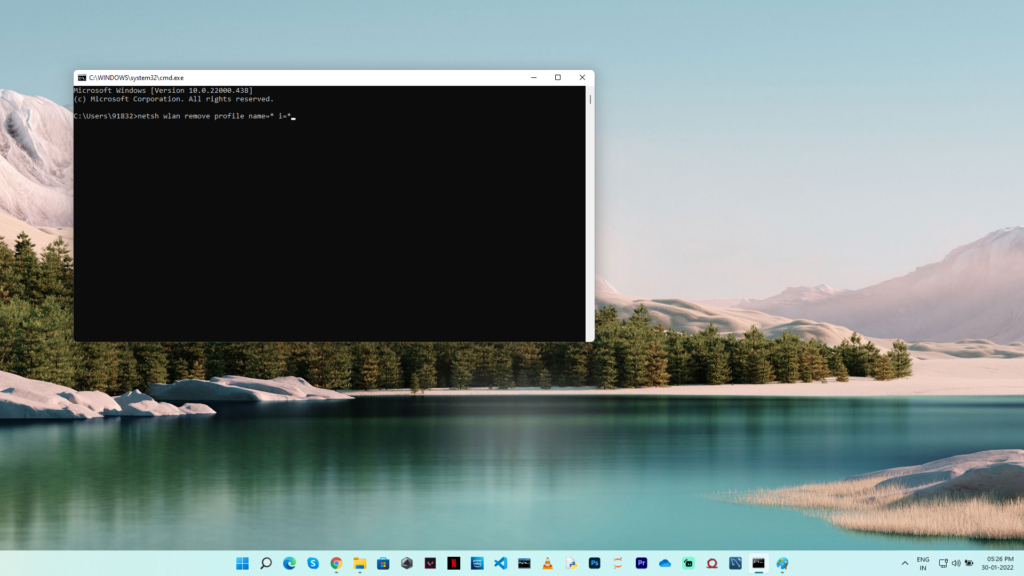
4) Press Enter to remove all known networks from the device.
Users should be aware that this method will delete all networks from the device.
How to forget a saved network on Windows 11 – Method 4
We’ll look at how to forget a single network using a command prompt in this method.
1) Press Windows + R at the same time.
2) Type cmd and hit Enter. This will launch the command prompt.
3) In the command prompt, type netsh wlan show profiles and hit Enter. This will provide a list of all accessible networks on the device.
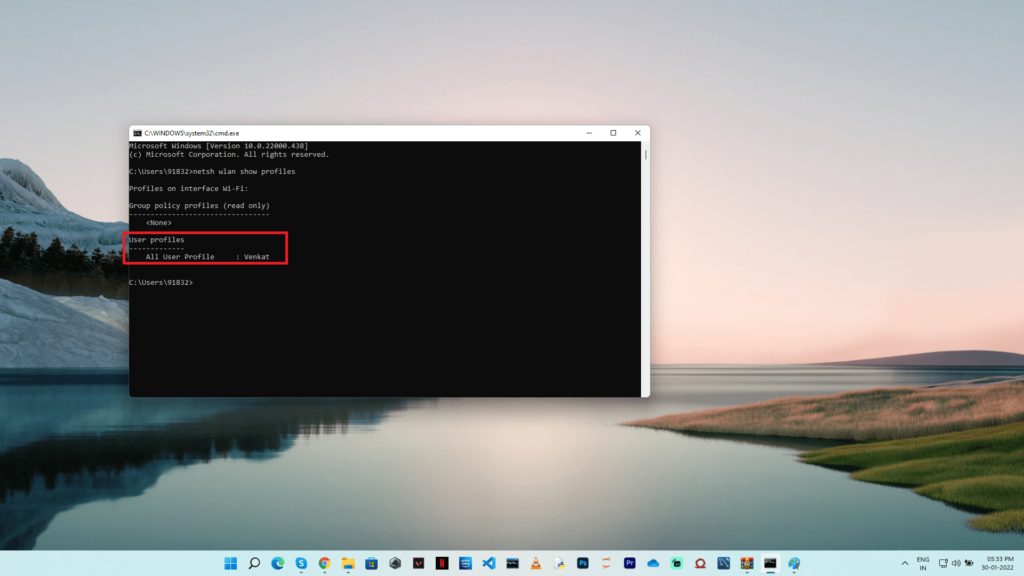
4) Enter netsh wlan delete profile name=’network name’ to delete the specific network.

5) Press Enter to permanently erase this network.
In a few cases, forgetting a saved network is the wise thing to do. For example, if Windows keeps connecting to the same network every time it comes within range, ignoring the network will prevent it from doing so, allowing you to pick which network you wish to connect to.
If your computer is infected with malicious malware or you have recently changed your settings, you may experience problems with Windows 11 Network Settings. A quick reset of your Windows 11 Network Settings may be all that is required to address your internet connectivity troubles.
If you’re experiencing problems connecting, as already said, resetting your network setup should be your final option. To determine what is causing the network problem, you should update your network card drivers, verify your routers, and perform a full system check.