
Windows 11 has provided its users with the freedom to customize the desktop appearance. Though it’s quite limited but it’s something compared to nothing. This limited customization allows you to change the font of your Windows 11 and it’s very common for people to get bored seeing the same font windows for years. So, how to change font in Windows 11?
The process of changing the font in windows 11 is very simple but backing up your windows registry is very necessary. The reason is that if anything goes wrong you can quite easily change it back to the default setting. We have provided all the steps that are necessary to carry out the backup process and along with that, we have added all the ways following which you can change the font of Windows 11.

How to Change Font in Windows 11
Here are all the processes by following which you will be able to change the default windows 11 font. But before that check the backup process first.
How To Backup Registry in Windows 11
To back up the registry in Windows 11, follow the steps provided below.
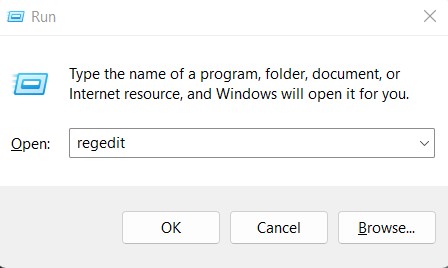
- Bring up your Run command by pressing on Windows button and R together.
- Now, enter regedit and hit enter.
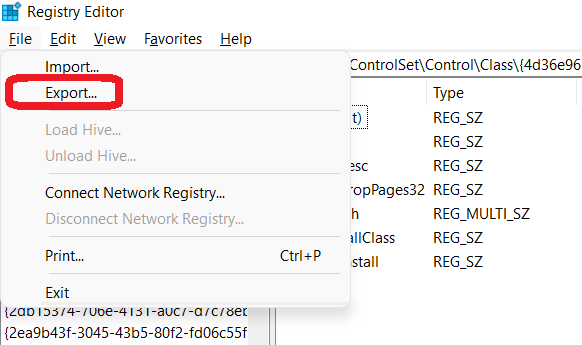
- On the next window click on File, followed by Export.
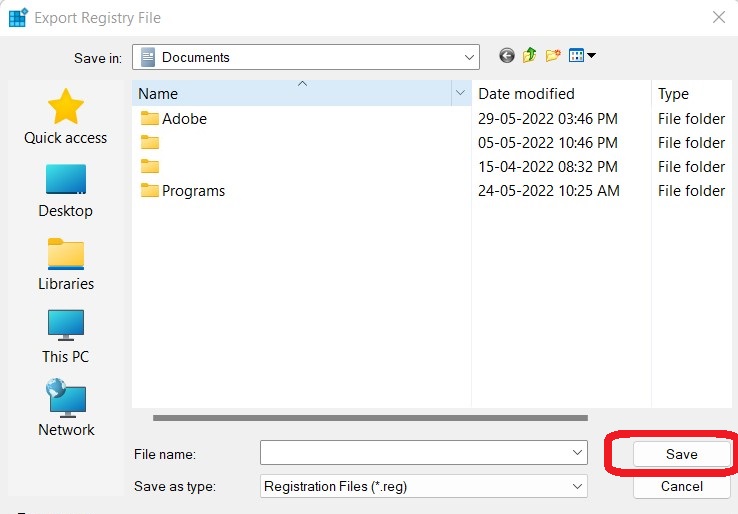
- Now, choose a file/folder to save the backup file and hit Save.
With that the backup process is complete and you can proceed with the process of changing the font.
Read this to know How To Install and Use Linux Terminal in Windows.
Step 1: Choosing Font on Windows 11
Now, that the backup process is complete you proceed with the steps below.
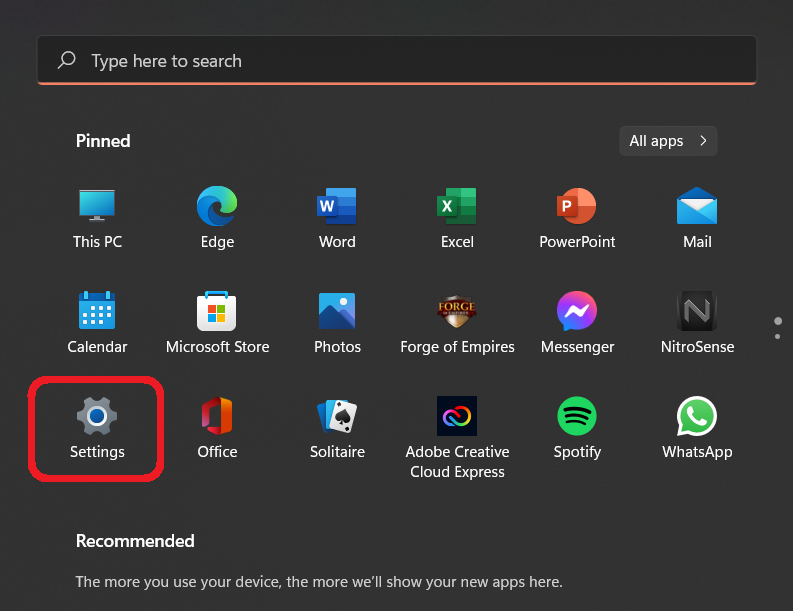
- Open the setting on your PC. You will be able to find it in the start menu.
- Go to personalization and choose Fonts.
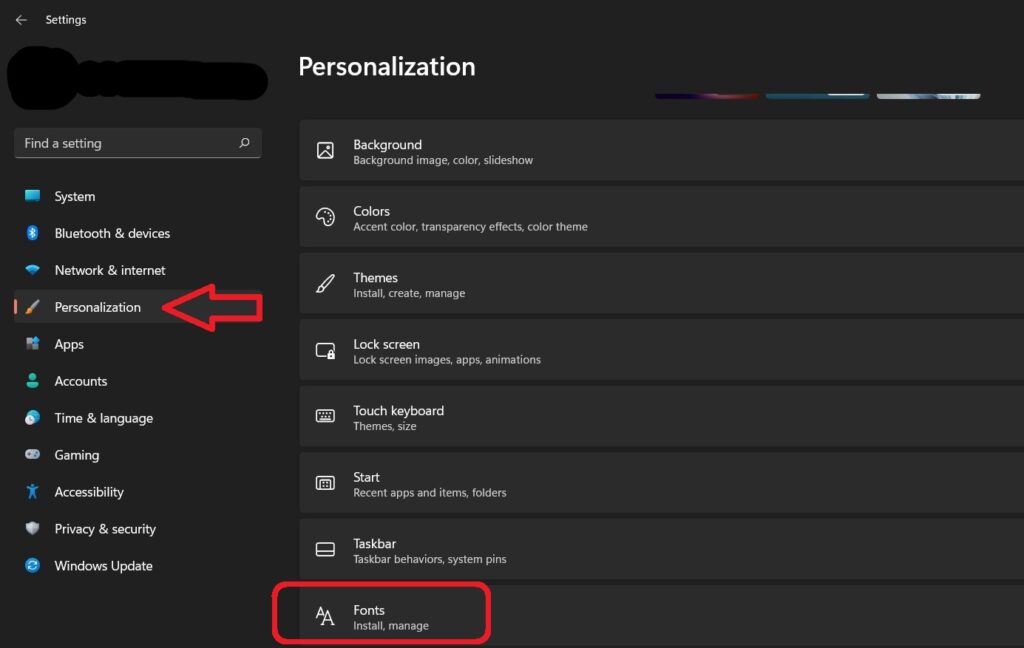
- Choose the font that you like.
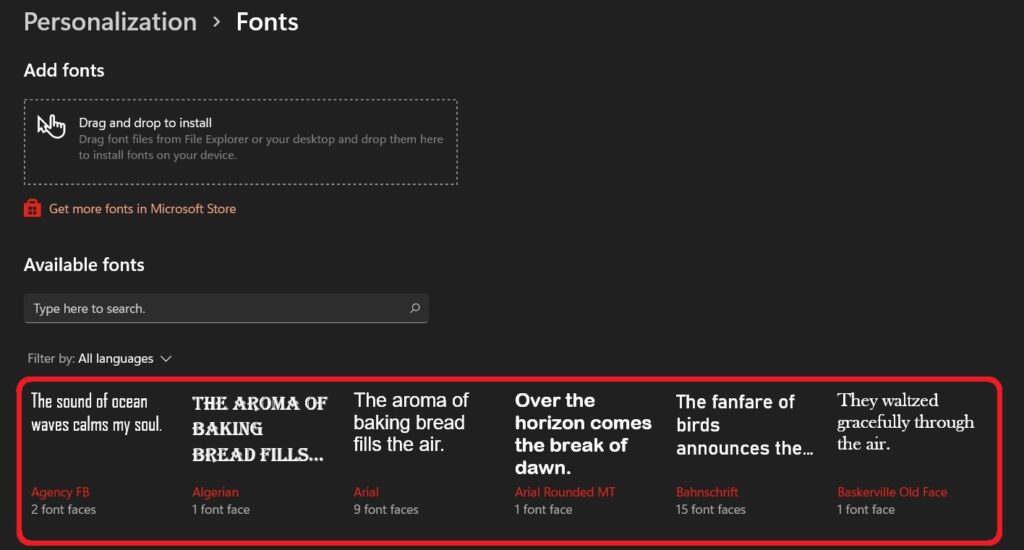
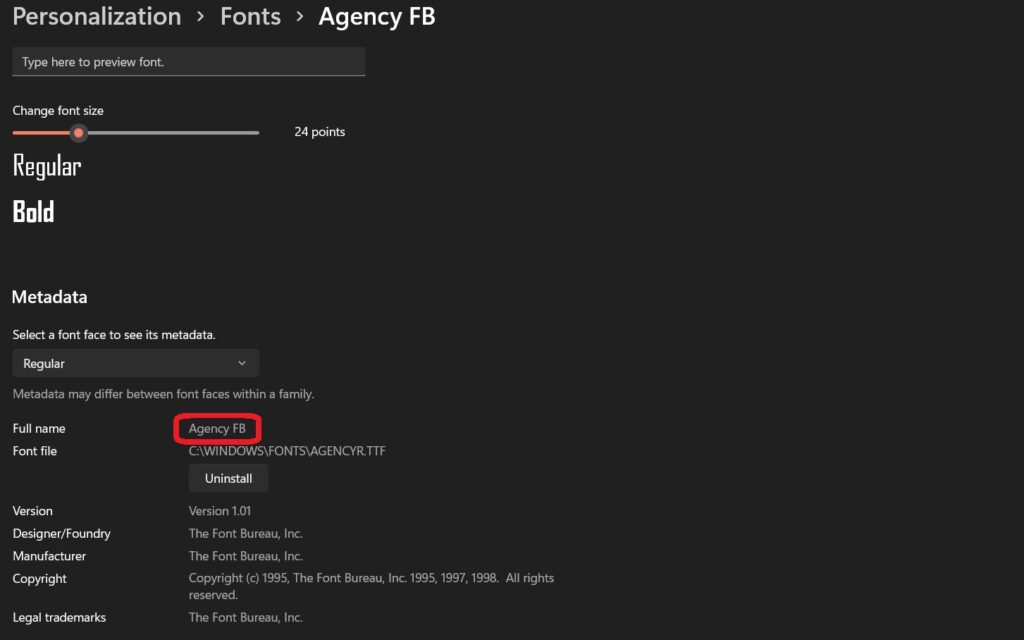
- Write down the name of the font.
And that is it for the choosing part. Proceed to the next part.
Step 2: Changing Font on Windows 11
There are three ways by which you can change the font of windows 11 and here they are
Process 1: By Third-Party Apps
There is quite a lot of third-party font changer available on the Internet. You can just Google “Third-party font changer app for Windows 11” and download the one you like.
Advanced System Font Changer is a common and popular font changer app. Though we have used it to change fonts on our system, you are free to choose any app you like.
After you open the app, you will find a few options that will provide you will be chance to change the font of the part of the system that you want. For example, if you want to change the font of the Title Bar, then click on it and then choose the font that you want to apply. The app will also allow you to change the size of the texts on the Title Bar. When you are done click on Apply.
You can also save the settings and switch between profiles whenever you feel like it.
How do you turn on closed captions? Read this to know How to Turn on Closed Captions on Windows 11.
Process 2: By Premade Registry File
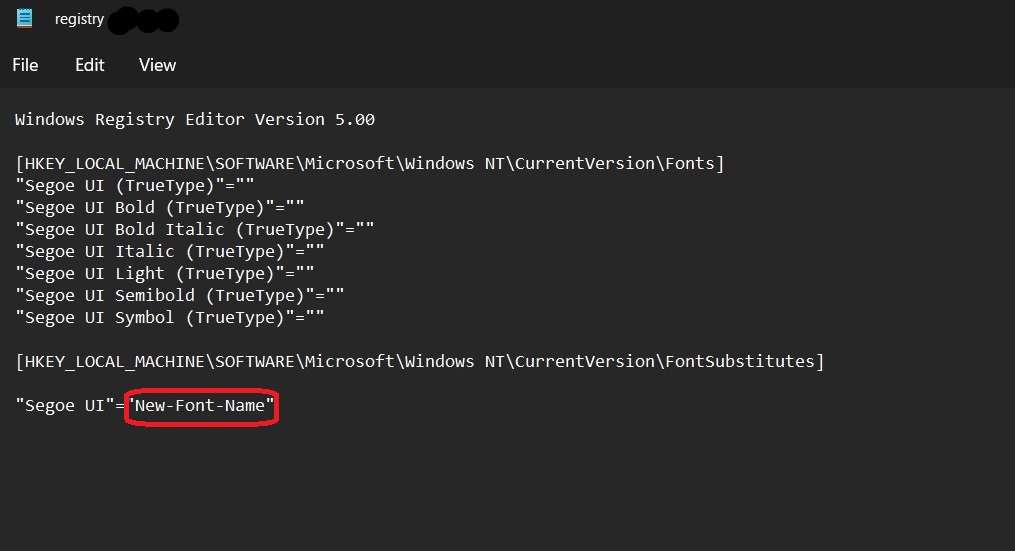
Click Here to download the premade registry file. Locate the downloaded file on your system and then right-click on it. Now, choose the Edit option from the list. After the file opens find New-Font-Name in the code and replace it with the font that you have chosen earlier.
After that, click the File option at the top of the window and hit Save. When that is done, right-click on the file again and choose Merge. The process may take some time. After the completion of the process restart your system and the Font on Windows 11 would be changed.
Process 3: By Manually Creating Registry File
For this step, you need to create the registry file manually and you can do that by copying the code mentioned below and adding it to a Notepad.
Windows Registry Editor Version 5.00
[HKEY_LOCAL_MACHINE\SOFTWARE\Microsoft\Windows NT\CurrentVersion\Fonts]"Segoe UI (TrueType)"="""Segoe UI Bold (TrueType)"="""Segoe UI Bold Italic (TrueType)"="""Segoe UI Italic (TrueType)"="""Segoe UI Light (TrueType)"="""Segoe UI Semibold (TrueType)"="""Segoe UI Symbol (TrueType)"=""
[HKEY_LOCAL_MACHINE\SOFTWARE\Microsoft\Windows NT\CurrentVersion\FontSubstitutes]
"Segoe UI"="New-Font-Name"
Now, just like the last process, replace the “New-Font-Name” part at the end of the code with the name of the Font that you like.
After that, save the file and give it a name that you like, and add .reg after the name. Also, choose All Files in the Save as Type before saving it. Now, go to the location, where you have saved the file and right-click on it, then select Merge. A prompt message will appear on the screen, choose Yes and restart your PC.
The new font will be applied when your PC comes back online again.
How To Change Back to Default Fonts in Windows 11
To change back to the default font, you can find the backup that you had made earlier and right-click on it, and choose merge after that. When the prompt message appears choose Yes and restart your system.
Have trouble with the sound on windows 11? Read Fix No Sound in Windows 11 Issue – 2022 [6 Ways]
You can also follow the Premade Registry file and manually creating registry file process mentioned above to change it back. You just need to add Segoe UI in the place of the font name that you had placed earlier. Save the file after that and choose Yes from the Prompt message and restart your system.
Conclusion
So, there you have it. This is how to change the font in Windows 11 and you can also follow the method provided above to change it back to its default font. We hope that the information provided here has been of help to you.