
MX player is undoubtedly one of the best media players for Android and iOS. It comes with a lot of features like support for gesture controls and support for various types of media files, including video and audio.
MX player is straightforward to use, and the user interface is clutter-free. For the same reasons, many people want to use MX player on their Windows PC or laptop. As you might already know, MX player does not have a Windows version.
But there are some tricks in which you can use MX player on your PC or laptop immediately.
In this article, you will find a guide on installing MX player on your Windows 11 or 10 PC or laptop in less than 10 minutes.
MX Player for PC
Let’s go through some highlighted features of MX Player For PC:
- Multi-Core Decoding
- Kids Lock
- Tap to Zoom In, out
- Gestures for Subtitles
- SW AND HW Decoders
- Supports all major Subtitle formats including (sub, txt, etc)
- Plays Audio and Videos of almost all Formats with HD Support
- Screen Lock option to avoid accidental actions
- Distraction Free Mode
MX Player For Windows Details
| Version | 1.56.0 |
| File Size | 15.61 MB |
| Developer | MX Media |
| Version for | Windows 11, 10, 8, 7 |
Follow the step-by-step instruction below to install the MX Player app on your PC or laptop. No matter which version of Windows you have. Whether it be Windows 11, 10 or 8, it works fine with any version without any hassle.
You may use the same version of MX player on all Windows machines, irrespective of the configuration.
Firstly, download the APK file of the MX player. We will install the APK file on our Windows machine using an Android emulator.
Head to this link and download the latest MX player APK file version.
Next, you need to download an Android emulator of your choice. You can use any Android emulator available for Windows PC or laptop. Bluestacks, NOX App Player, etc., are a few good Android emulators you can try.
Go through the list of Android emulators for Windows and download the one you feel is good for you and can be installed on your PC.
Once downloaded, install it and open it up.
After installing the Android emulator, double-click the APK file of the MX player we downloaded earlier. As soon as you double-click on it, it should install on the Android emulator directly.
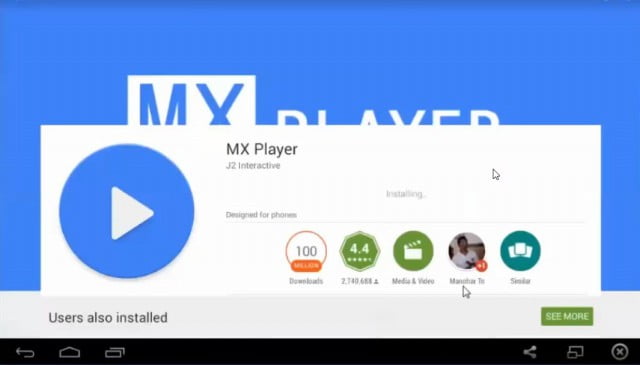
A small pop-up box may appear showing the status of the installation.
You also have the option to download MX Player and install it directly on the Android emulator as well. Most Android emulator comes with the Google Play Store. Firstly, open the Google Play Store and sign into your Google account. Now search for MX player and install it.
If you don’t want to log into the Android emulator, you may download and install the APK file directly.
Once installed, open the Android emulator.
You should find the MX player icon in the app drawer. Tap on it.
Open the MX player and select any video that you want to play. You may use the shared library to transfer video or audio files from your PC and the Android emulator.
You have installed MX player on your Windows-based machine.
Fix Audio Codec Error In MX Player For PC
Audio codec error is quite common on MX player. With the new versions, developers have dropped support for some particular audio and video codecs by default. DTS, TrueAudio, etc, are some of them dropped by them.
If you have media files with these codecs, don’t worry; we can tweak MX Player to add support for this codec by adding extensions. It is pretty simple to add them. All you want to do is just head over to the official website of MX Player and then download and load the codec into the app.
- First, we need to identify the current version of the MX Player decoder. For that, Open MX Player Settings > Decorder > General. You can get the info about the version from the Custom Codec tab.
- Once you find your MX Player’s current codec, the next step is to download the respective codec from the link below. Links are from their official website itself.
I recommend you download and install the all-in-one MX Player codec pack, as you don’t have to install every single codec one by one.
- Now you have to install the downloaded codec to MX Player
- Just make sure that the downloaded codec file is in your internal storage. Do not unzip or extract the codec file, as it is not required.
- Now, Open MX Player and it will automatically detect the newly downloaded codec in your internal storage. It will ask whether to install it or not. Just select the Install option and you are all good to go.
What’s Next
Installing MX Player on Windows PC is fairly straightforward. It does not take more than five minutes for you to install and configure the MX player for the first time.
One of the biggest advantages of using MX Player is that it supports almost all leading video and audio formats including MP4, MOV, AVI, WMV, MP3, WAV, M4A, OGG, etc.
Now that you have installed the MX player on your PC, you may download and watch videos offline without the Internet.
FAQ
Is MX Player Available For Windows?
MX player is not officially available for Windows. But you have the option to install MX player on any Windows machine by using an Android emulator. You have to download the APK file and install the APK file on the Android emulator. This way, you can easily use MX player to watch any video on your PC.
Do MX Player Support All Formats?
MX player has support for almost all leading video and audio formats. MP4, MOV, AVI, WMV, M4A, OOGG, MP3, WAV, etc, are a few most commonly used formats supported by MX Player.